I will be coloring fur today using a light brown Copic color combo.
I will also demonstrate fun texturizing techniques
with stippling and Copic Colorless Blender.
I will also demonstrate fun texturizing techniques
with stippling and Copic Colorless Blender.
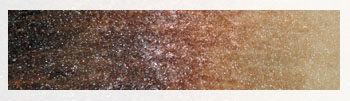 E35, E33, E31, E30
Optional high intensity E37
Optional texturizing: Colorless Blender


Supplies:
Paper: X-Press It Blending Paper (X-Press)
Stamp: Teddy Cooking (Wild Rose Studio
Copic Alcohol Ink Sketch Markers (.too Corp)
Copic Colorless Blender (.too Corp)
Copic Opaque White Ink (.too Corp)
Copic Black Multiliner 0.03 (.too Corp)
Memento Black Tuxedo Ink (Tsukineko)
Tim Holtz Vintage Photo Distress Ink (Ranger)
Crafter's Companion Adhesive
Stamp: Teddy Cooking (Wild Rose Studio
Copic Alcohol Ink Sketch Markers (.too Corp)
Copic Colorless Blender (.too Corp)
Copic Opaque White Ink (.too Corp)
Copic Black Multiliner 0.03 (.too Corp)
Memento Black Tuxedo Ink (Tsukineko)
Tim Holtz Vintage Photo Distress Ink (Ranger)
Crafter's Companion Adhesive
Copic Markers Used:
Fur: E35, E33, E31, E31 and E37 for high intensity, Colorless bender for texture
Apron: B000, B00, B00
Table: Yoo, Y23
Flour: E50, W51
Eggs: W4, W2, Colorless Blender
Cookbook: R00, R20, R22
Bowls: G40 YG63, Sandwich (YG63, E35, YG63)
Measuring Glass: C1 and B000
Fur: E35, E33, E31, E31 and E37 for high intensity, Colorless bender for texture
Apron: B000, B00, B00
Table: Yoo, Y23
Flour: E50, W51
Eggs: W4, W2, Colorless Blender
Cookbook: R00, R20, R22
Bowls: G40 YG63, Sandwich (YG63, E35, YG63)
Measuring Glass: C1 and B000
Background:
Marbleized Copic Markers and Smash Technique
Marbleized Copic Markers and Smash Technique

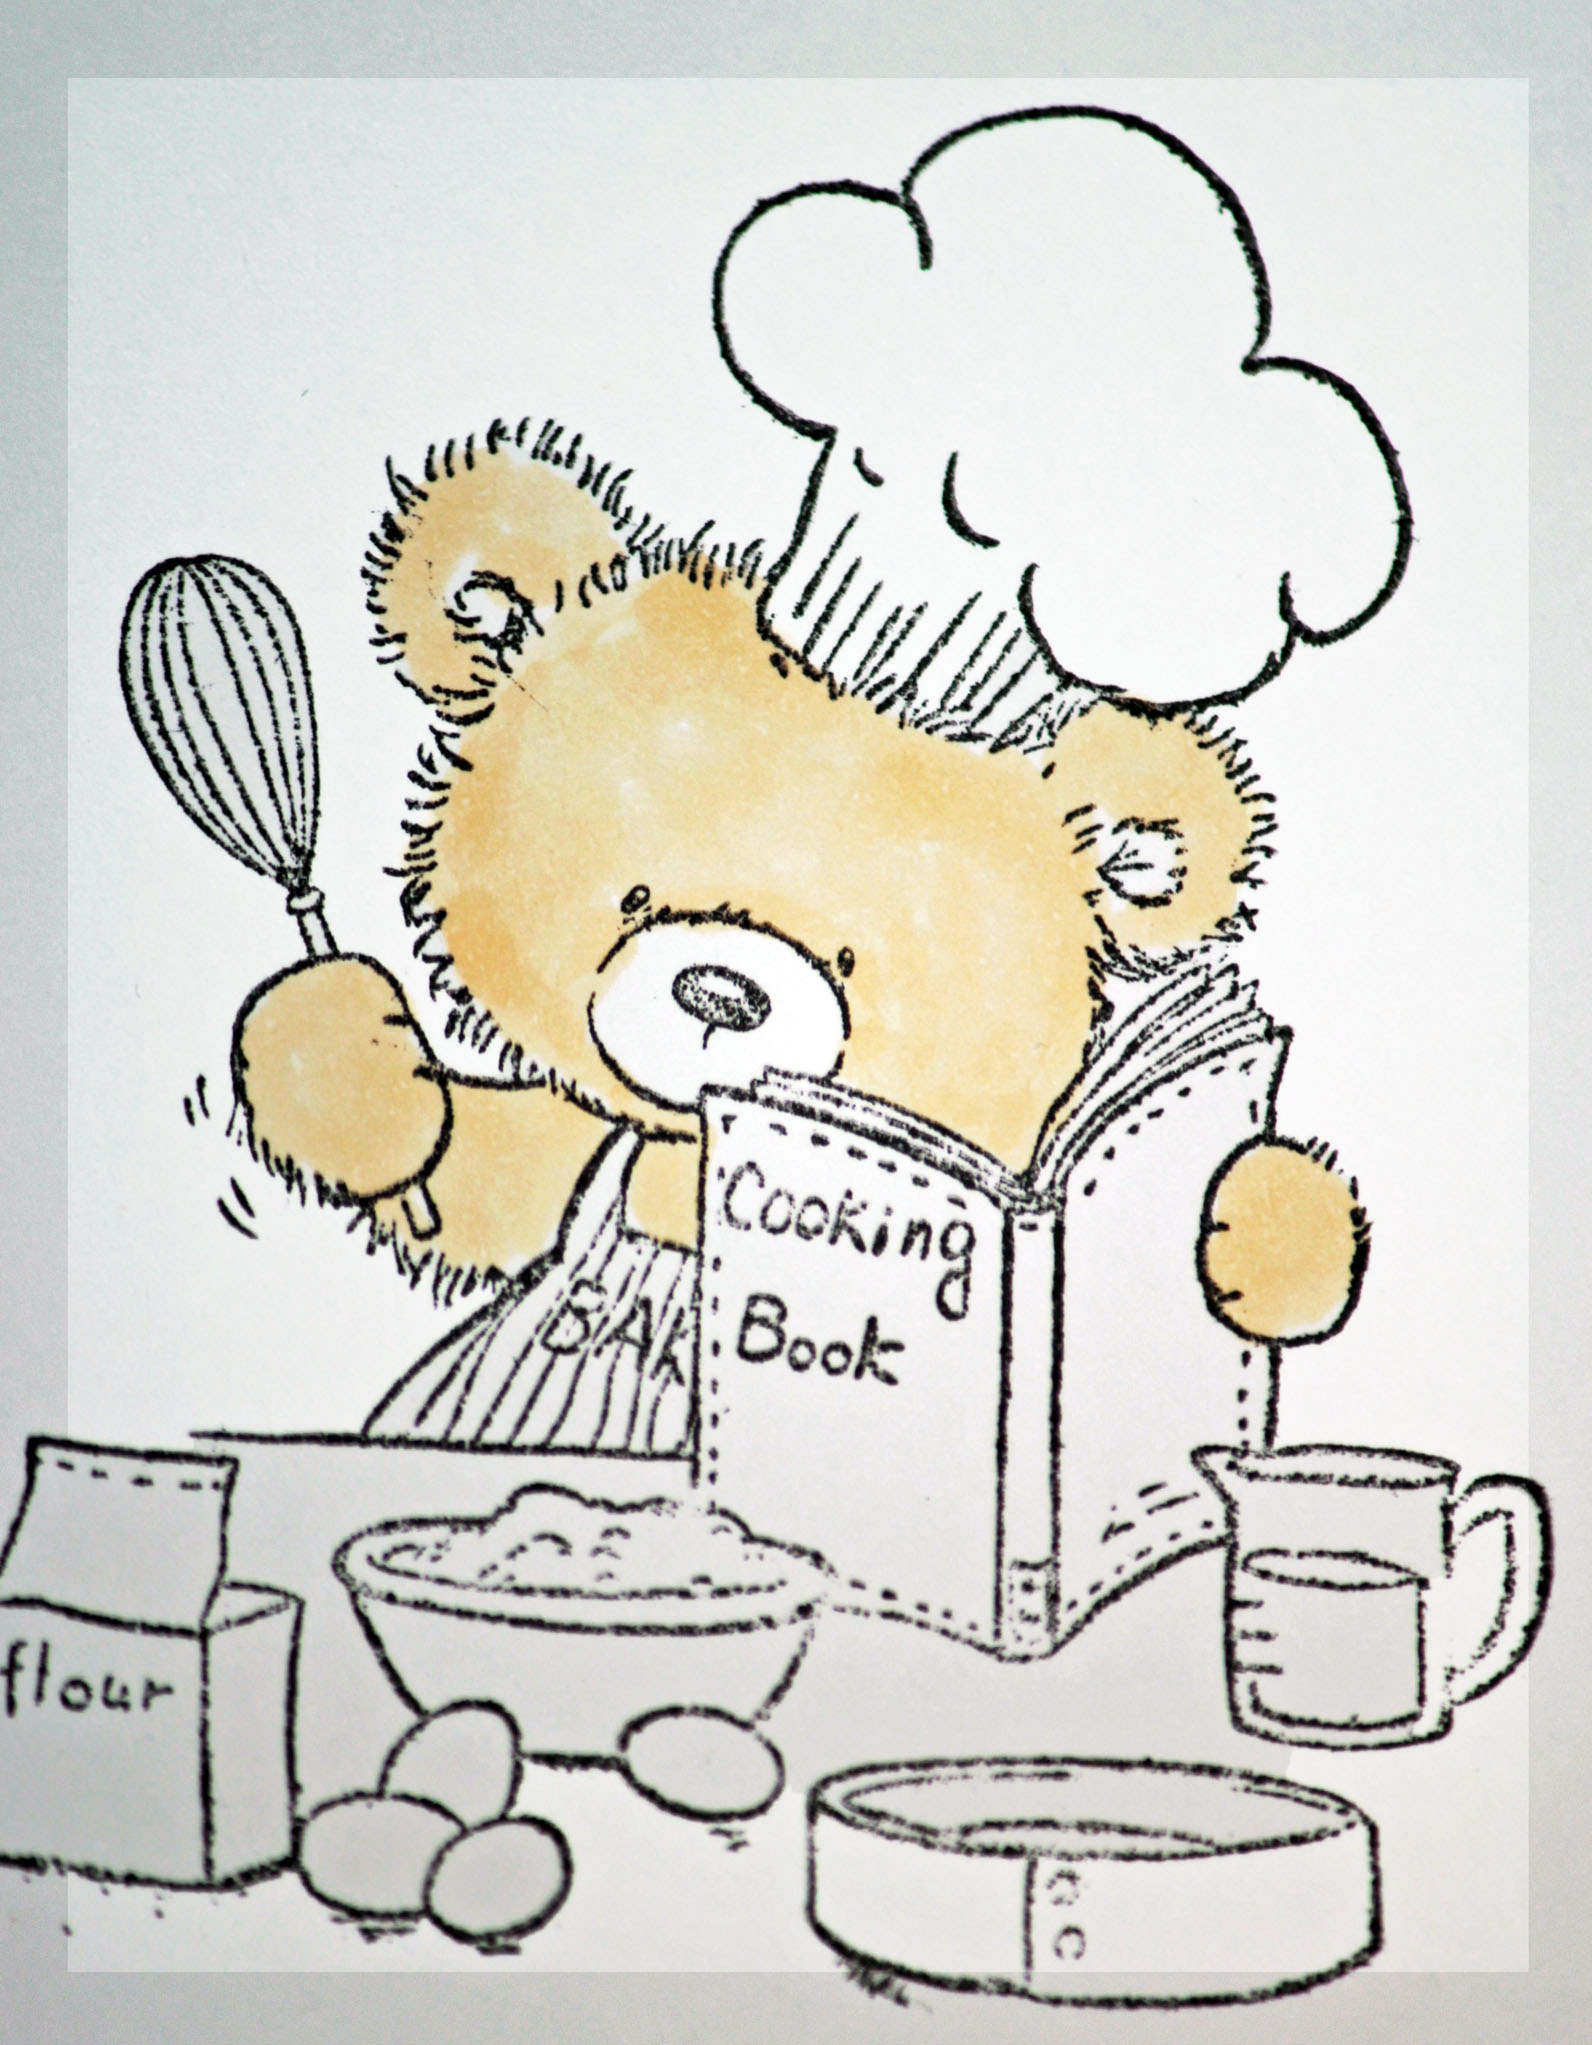
The image was stamped using Memento Tuxedo Black ink.
A thin base coat of E30 was applied to allow the white to be covered.
This step does not need to be smooth.
A thin base coat of E30 was applied to allow the white to be covered.
This step does not need to be smooth.
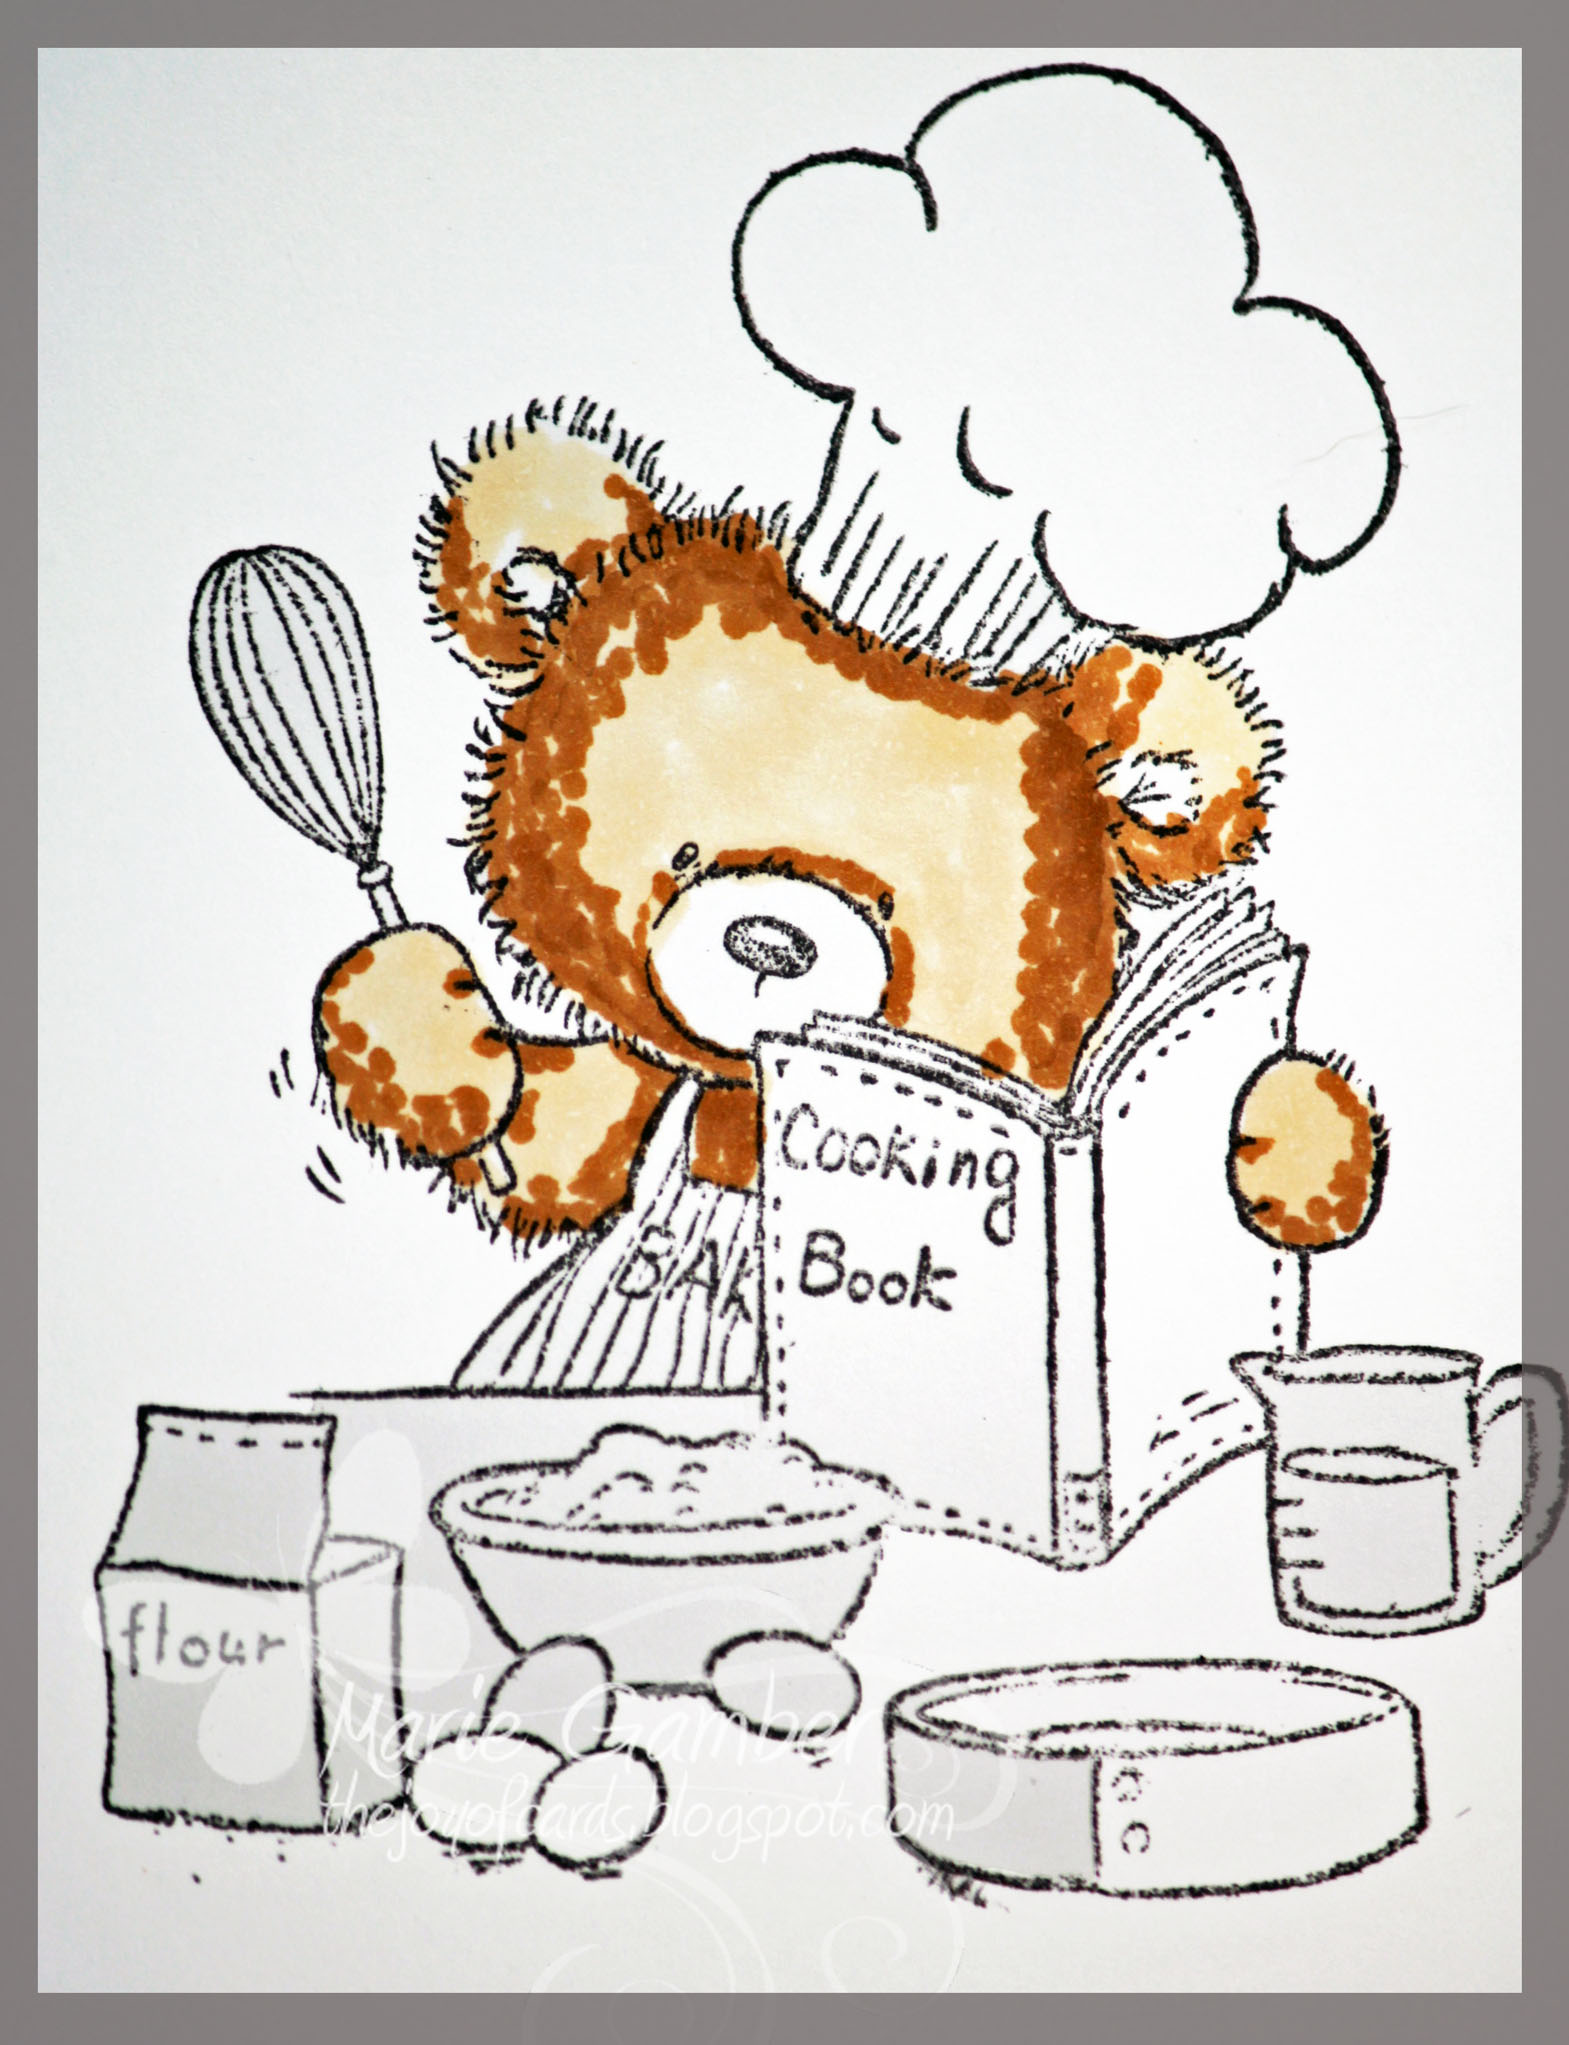
There are different methods of creating fur. For this tutorial, I will use a "stipple" method.
My shadow color E35 was applied in a dotting or stipple method. Just apply dots by lightly touching the tip
of the brush or nib to the paper.
The shadow area wis applied to areas that do to get a lot of light source and around the edges of the head to
allow the head to look rounded and to provide dimension.
Apply some shadow around the bears' mussel. This will allow the nose or muzzel to pop out away from the face.
My shadow color E35 was applied in a dotting or stipple method. Just apply dots by lightly touching the tip
of the brush or nib to the paper.
The shadow area wis applied to areas that do to get a lot of light source and around the edges of the head to
allow the head to look rounded and to provide dimension.
Apply some shadow around the bears' mussel. This will allow the nose or muzzel to pop out away from the face.
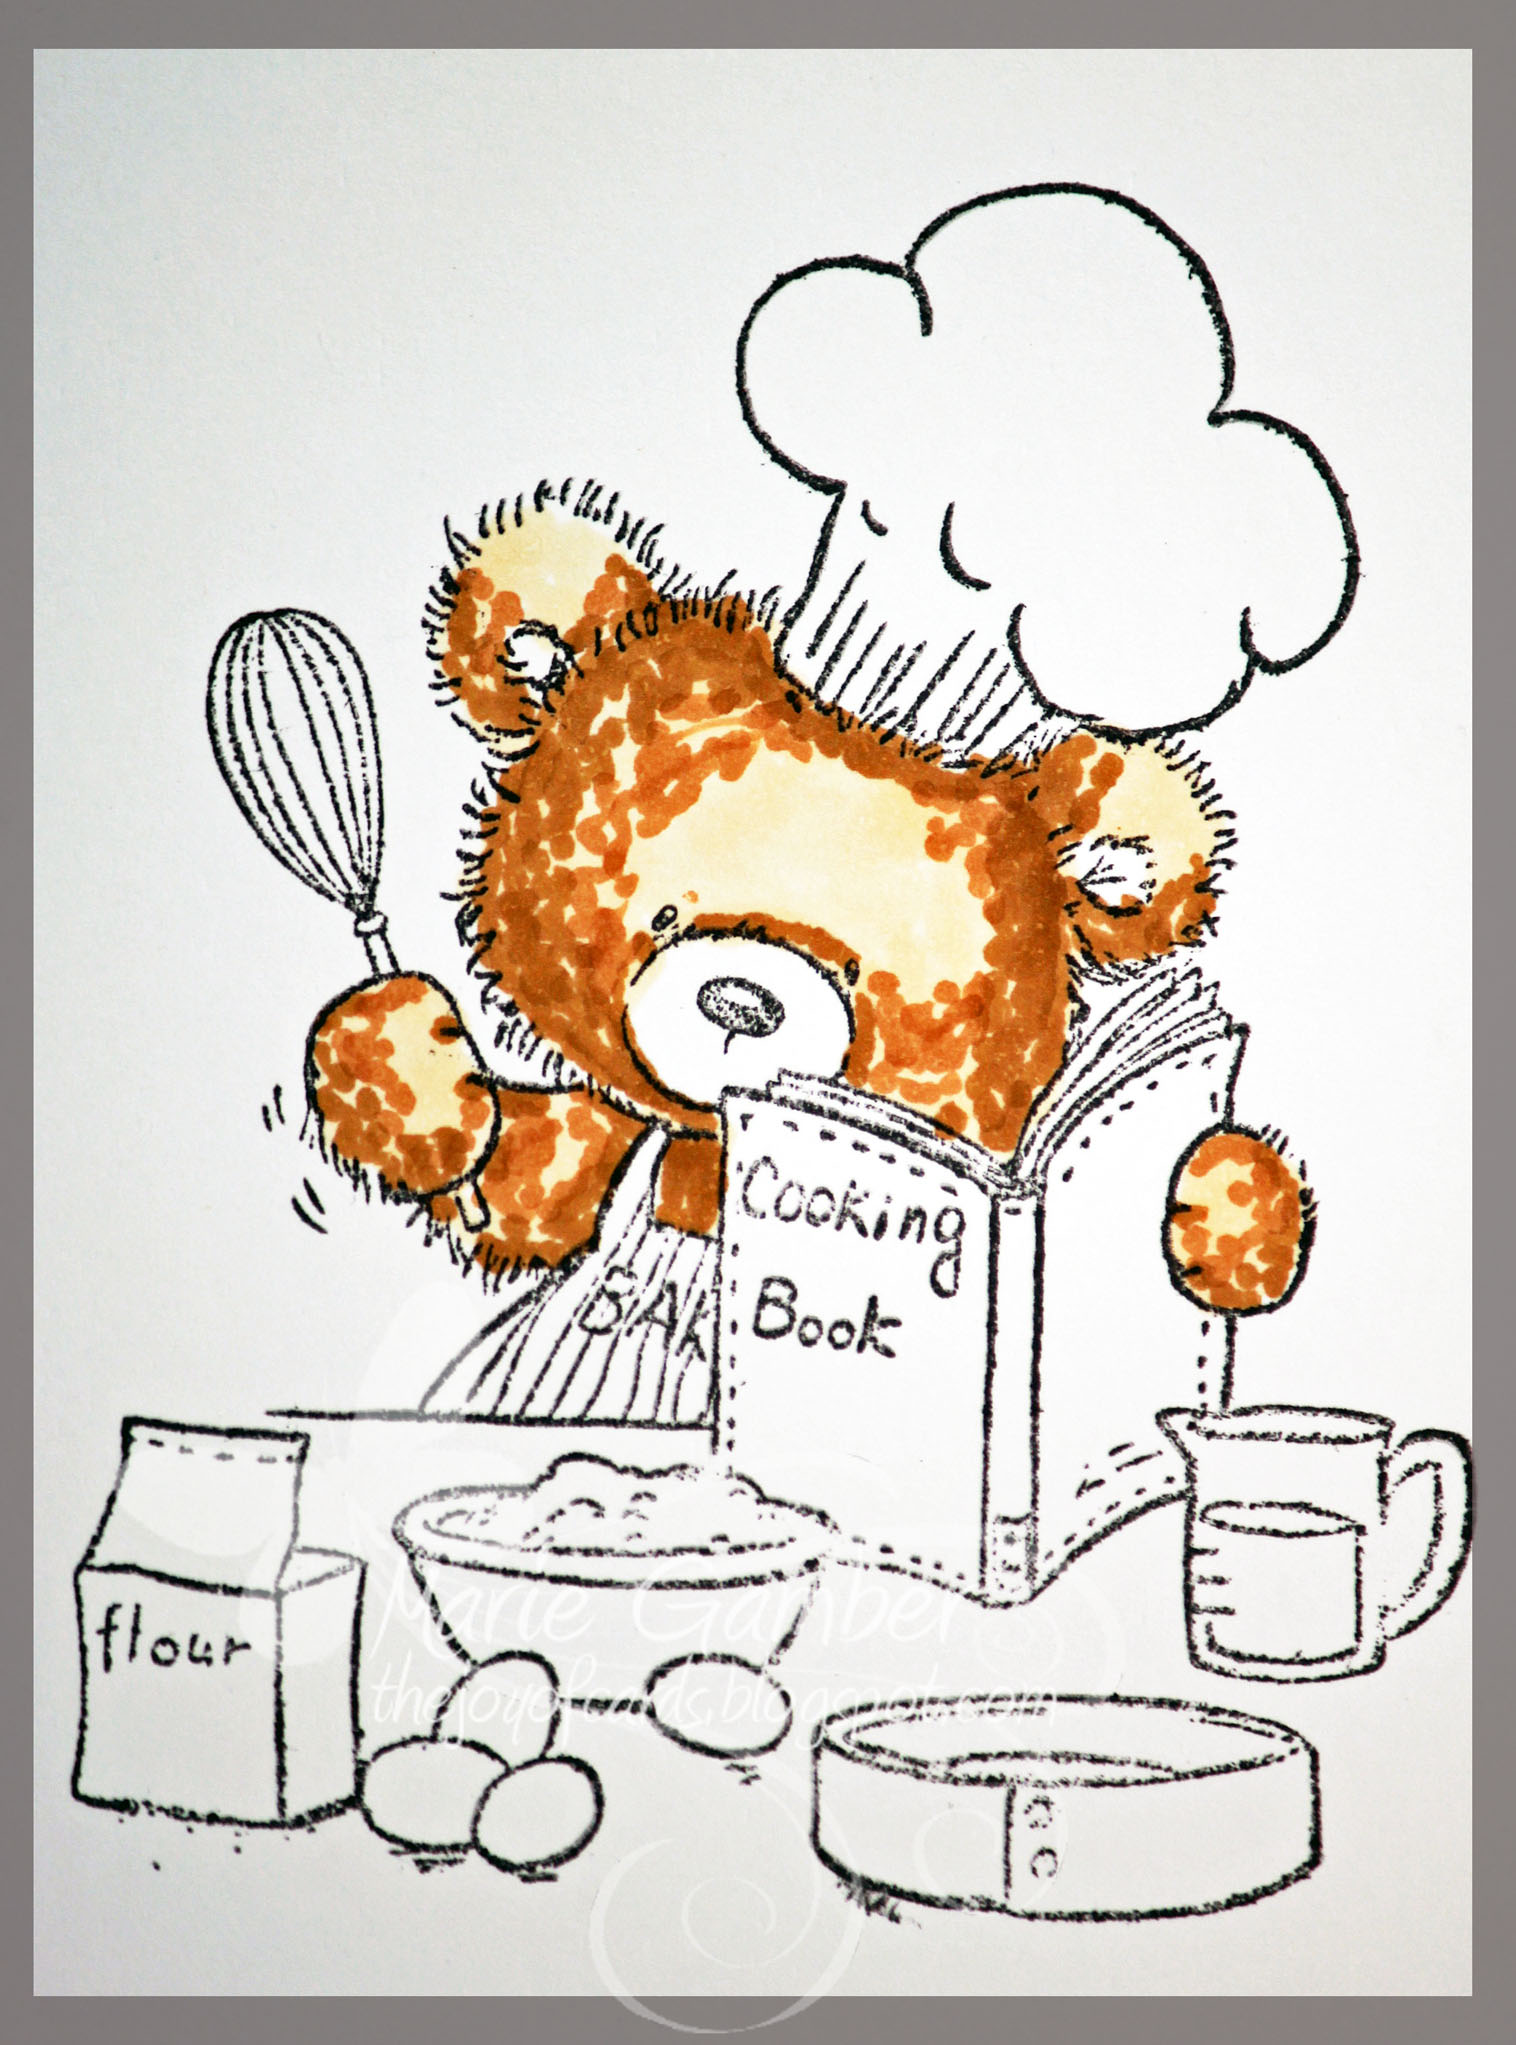
The mid-tone, E33 was applied with the same dotted technique from the shadow area toward the center.
You can slightly overlap the two colors for blending.
Do you notice that we are not flicking with the stipple technique?
Do you notice that we are not flicking with the stipple technique?
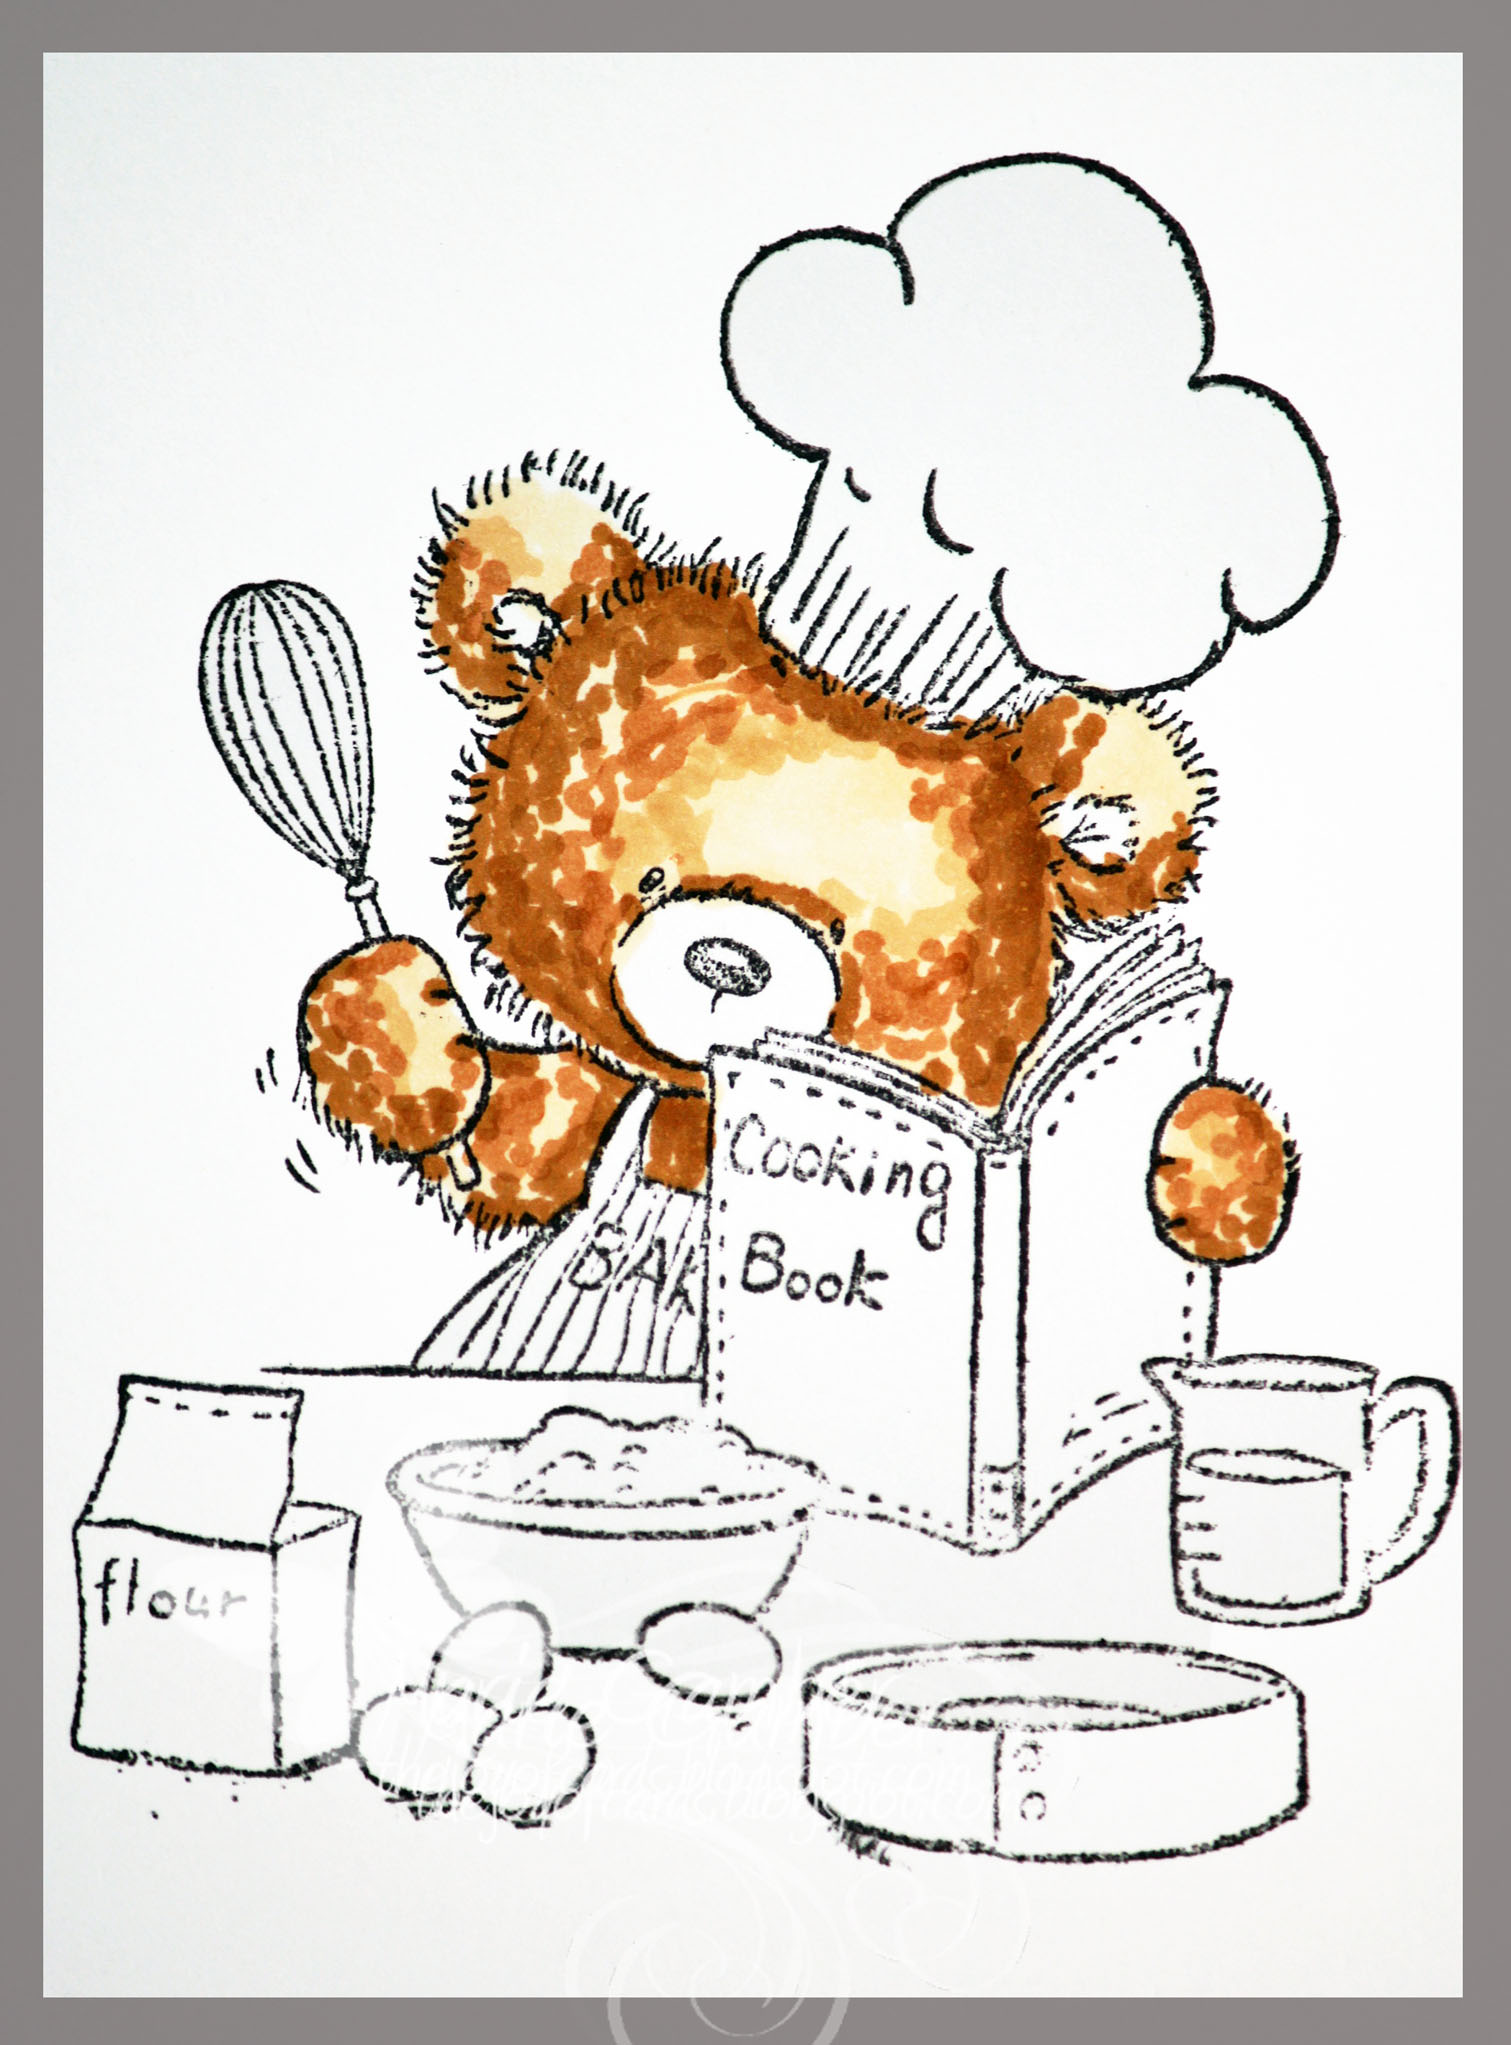
The lightest mid tone , E31 was applied in the same manner.
Slightly overlap from the E33 and stipple in a crescent manner toward the light source.
The crescent share will give "roundness" to the face.
Slightly overlap from the E33 and stipple in a crescent manner toward the light source.
The crescent share will give "roundness" to the face.
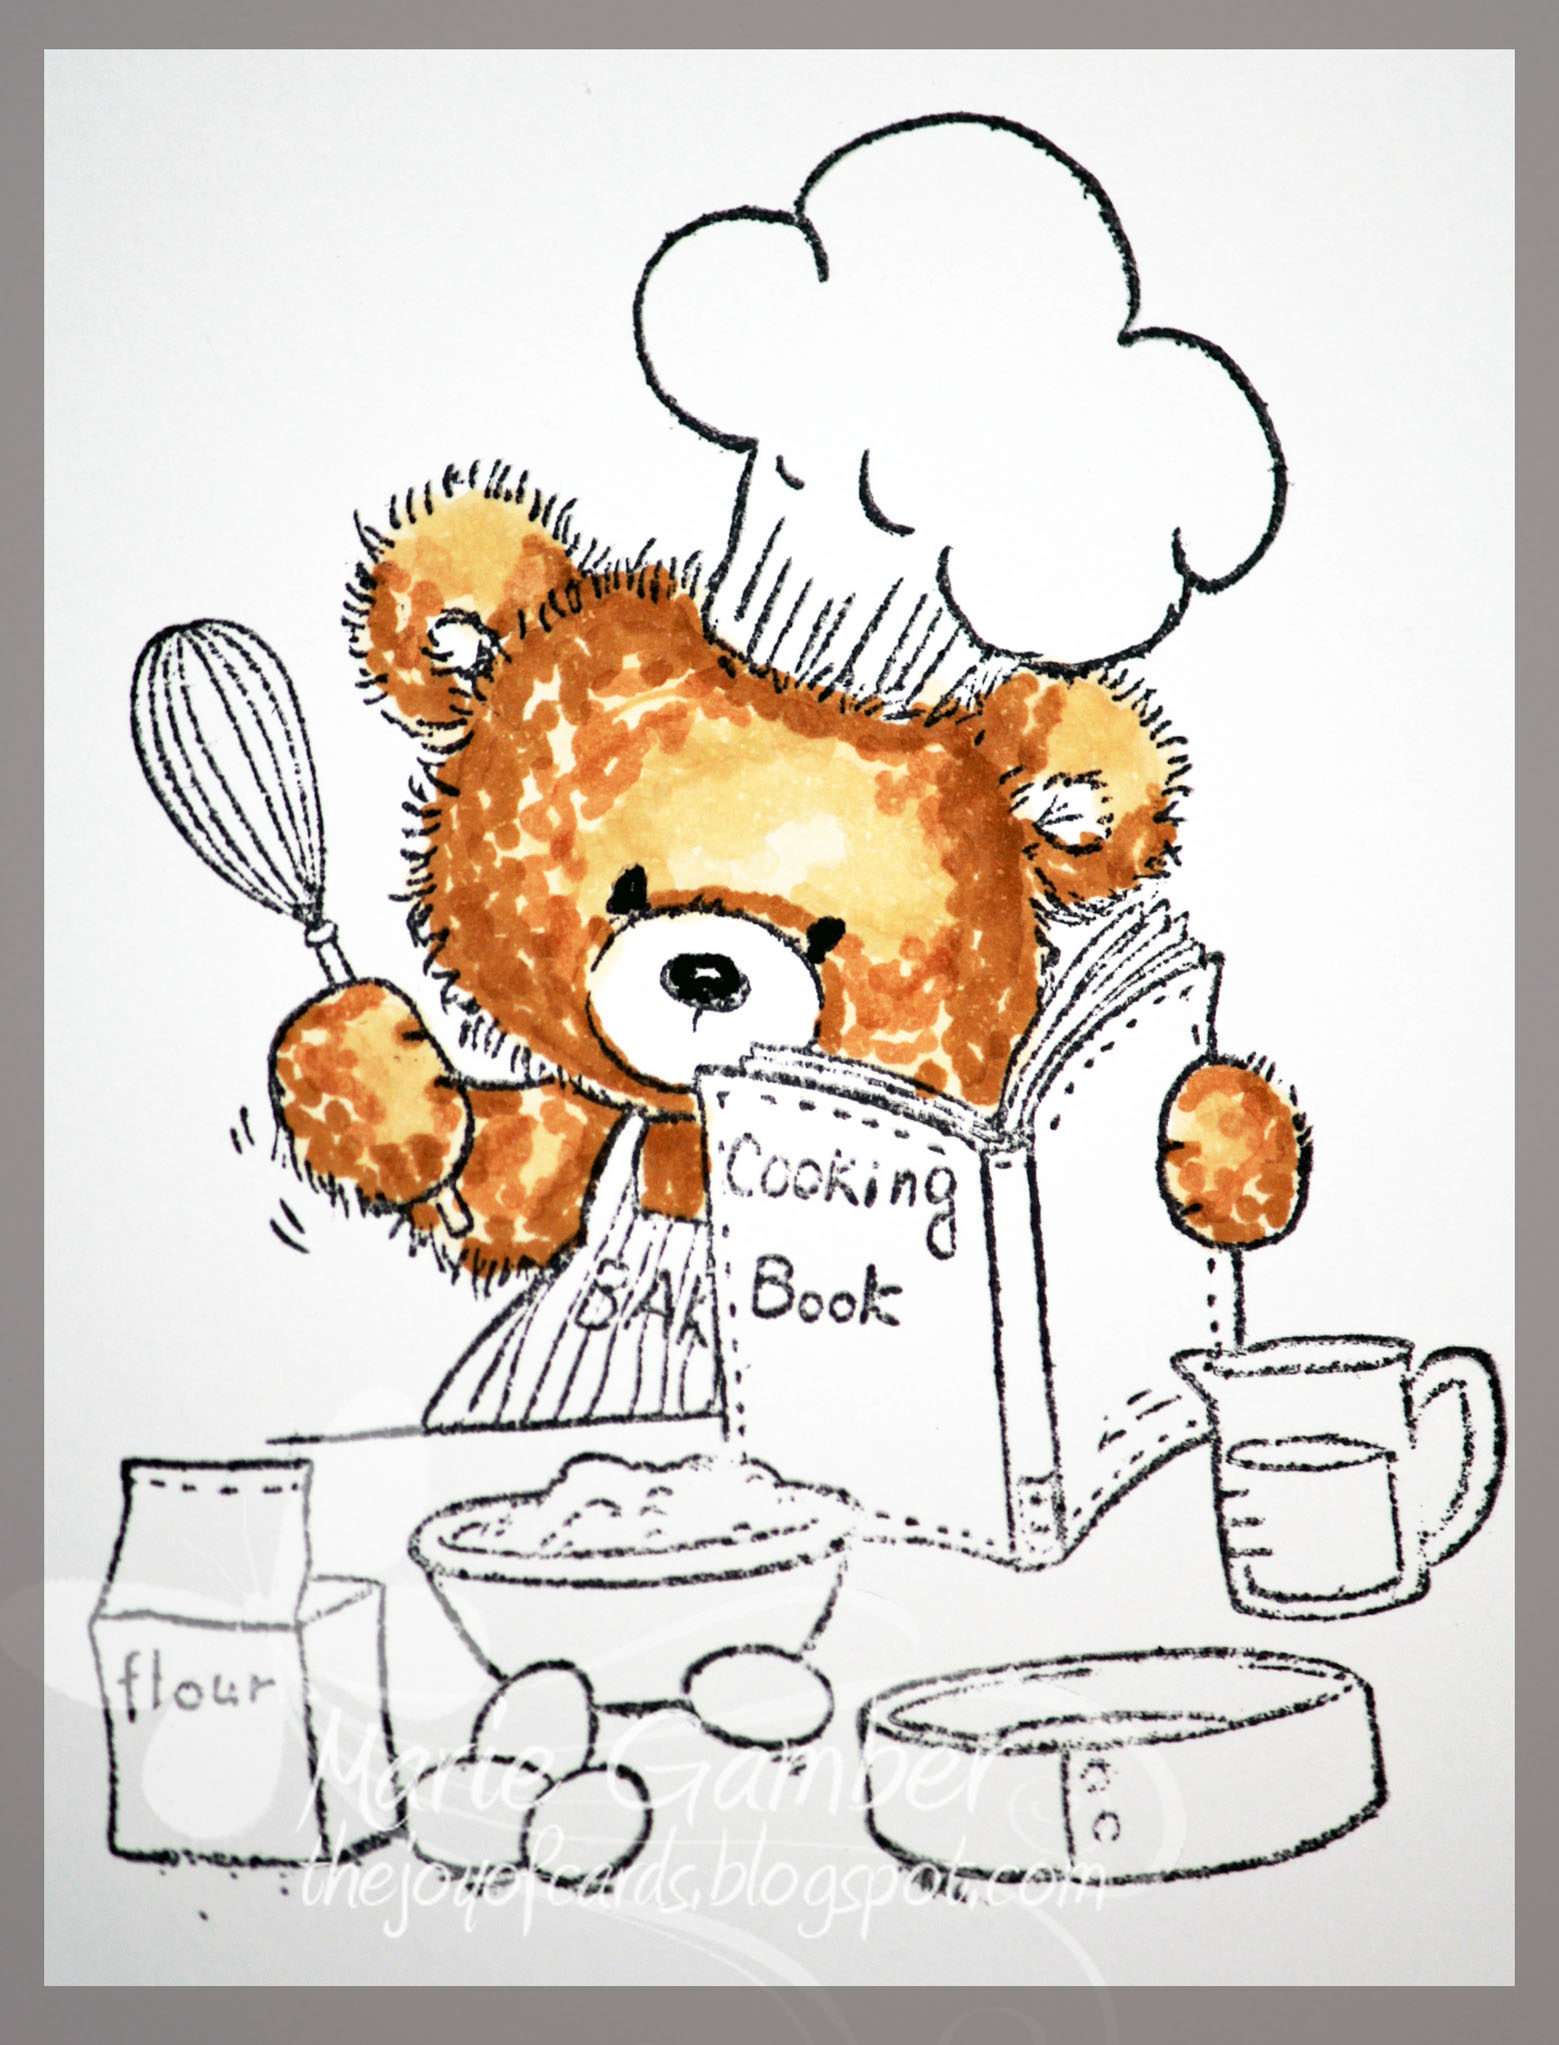
Lightly stipple the highlight, E30.
Avoid making this too dark because we will be coloring over it again later.
Remember that every time a color in applied, the intensity will increase and you will lose some of the highlight.
Avoid making this too dark because we will be coloring over it again later.
Remember that every time a color in applied, the intensity will increase and you will lose some of the highlight.
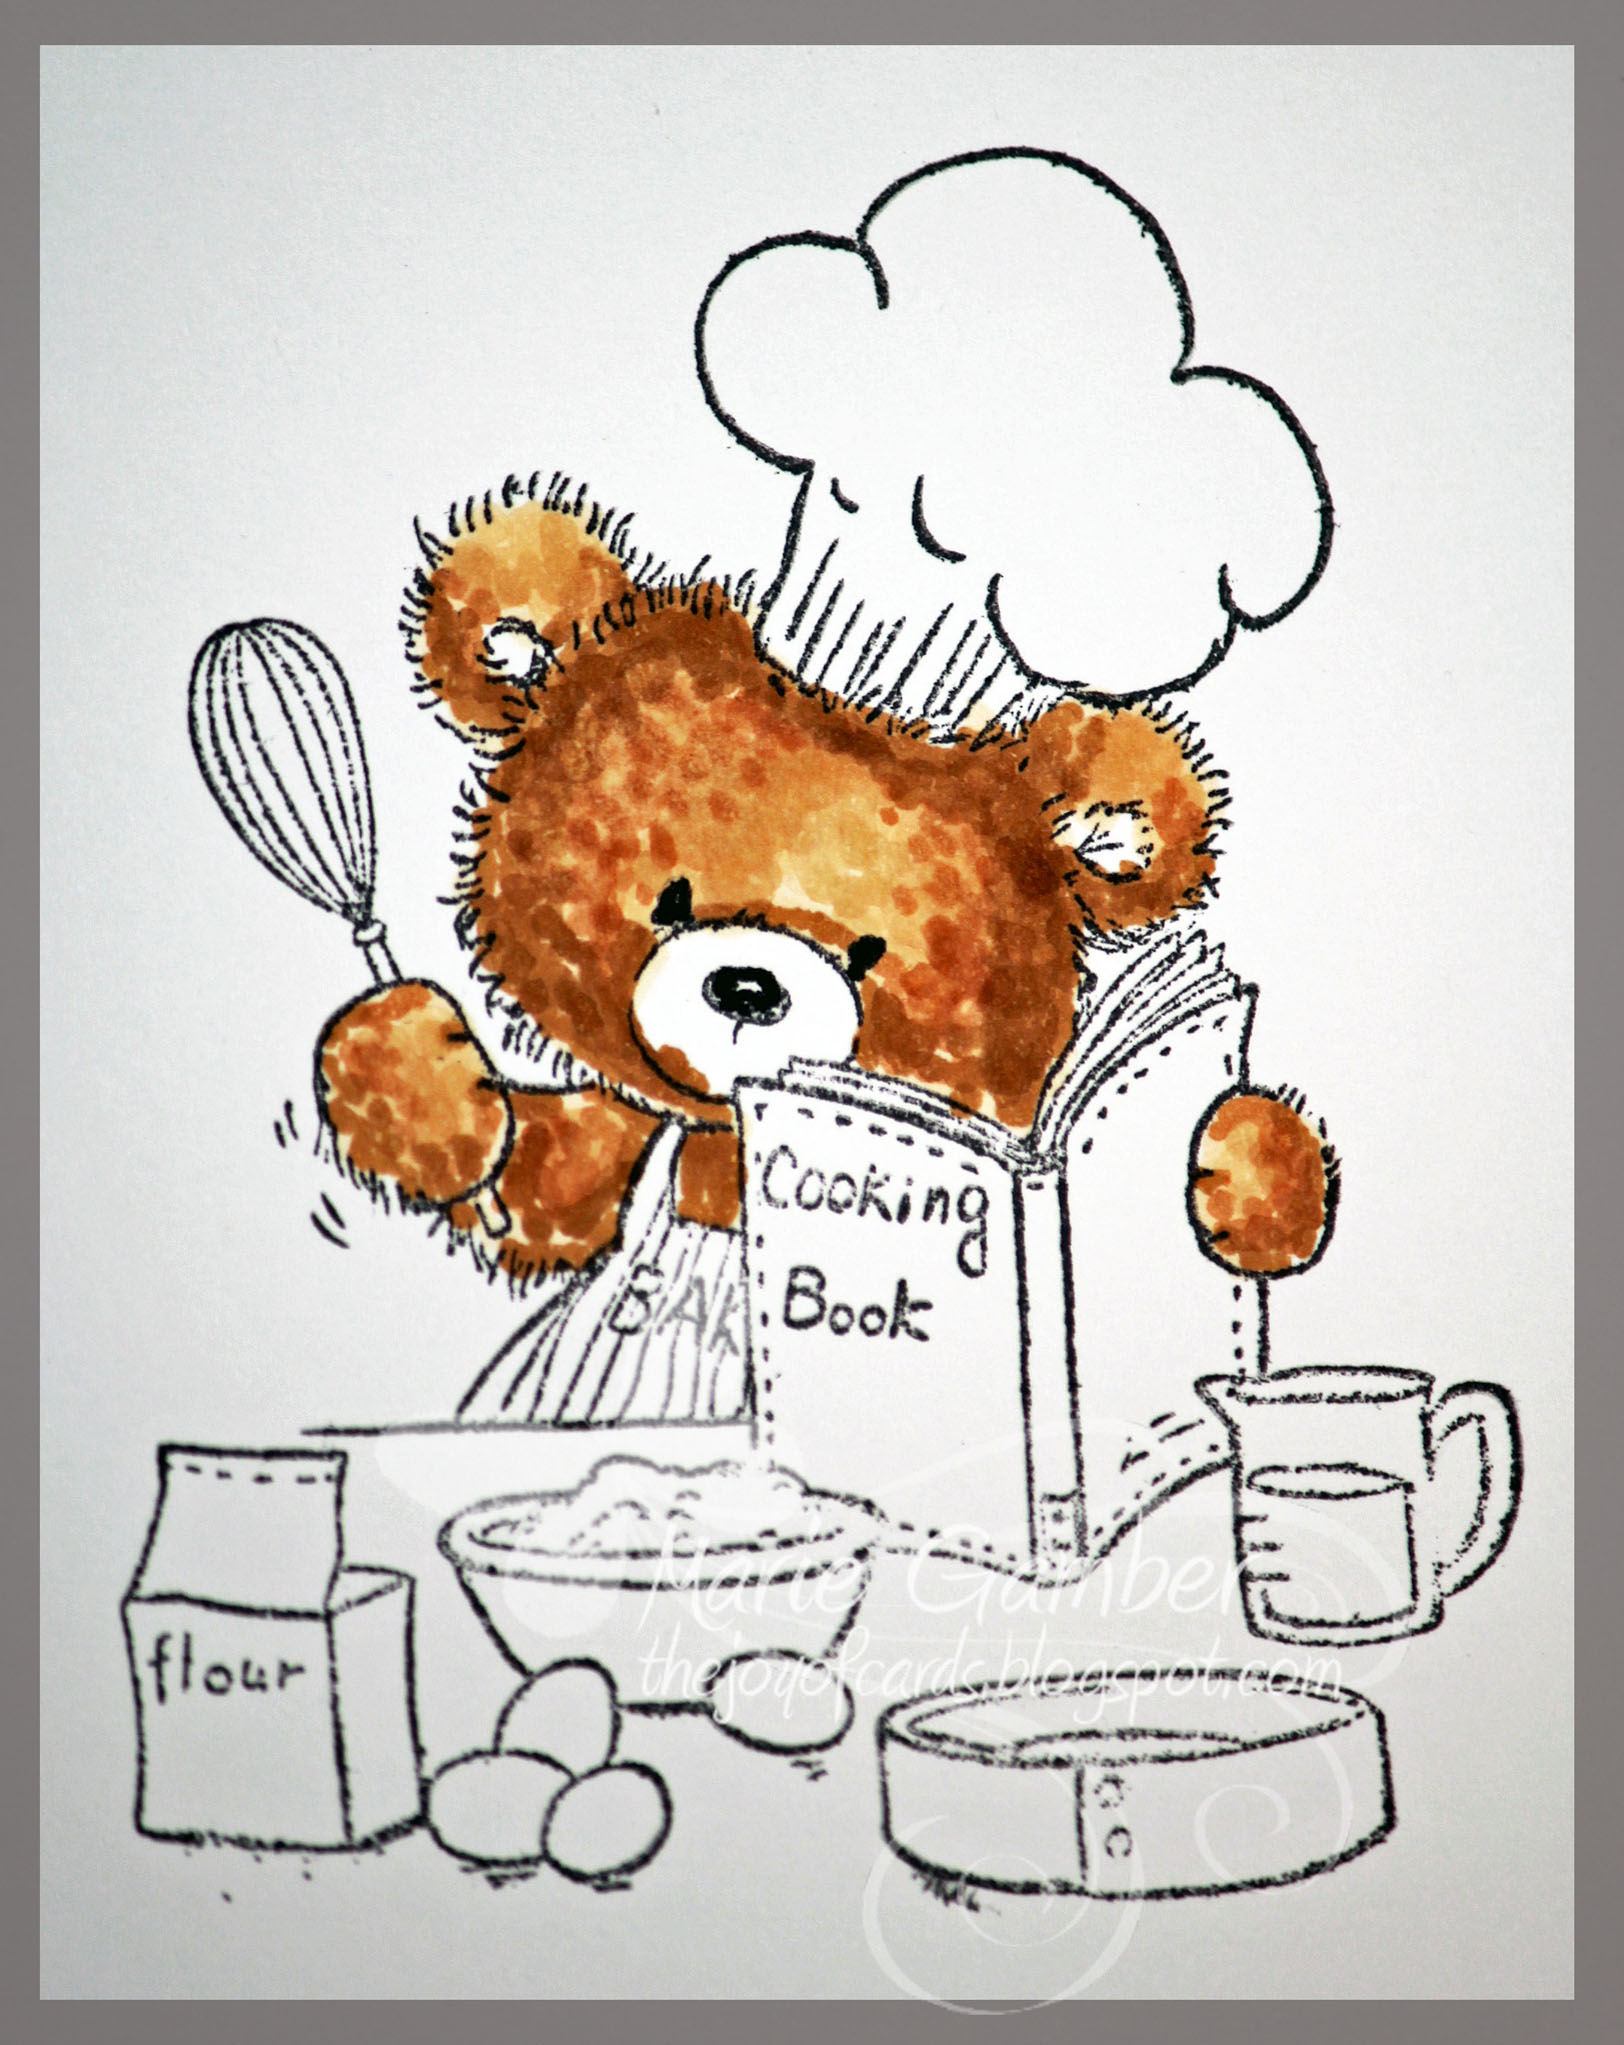
I now like to repeat the process in order to allow my colors to blend better and improve the contrast
between the highlights and shadows.
E35 was applied. This was followed by E33, E31 and E30.
By this time, the image should be having a dimensional look.
The stippling should look furry :D
between the highlights and shadows.
E35 was applied. This was followed by E33, E31 and E30.
By this time, the image should be having a dimensional look.
The stippling should look furry :D
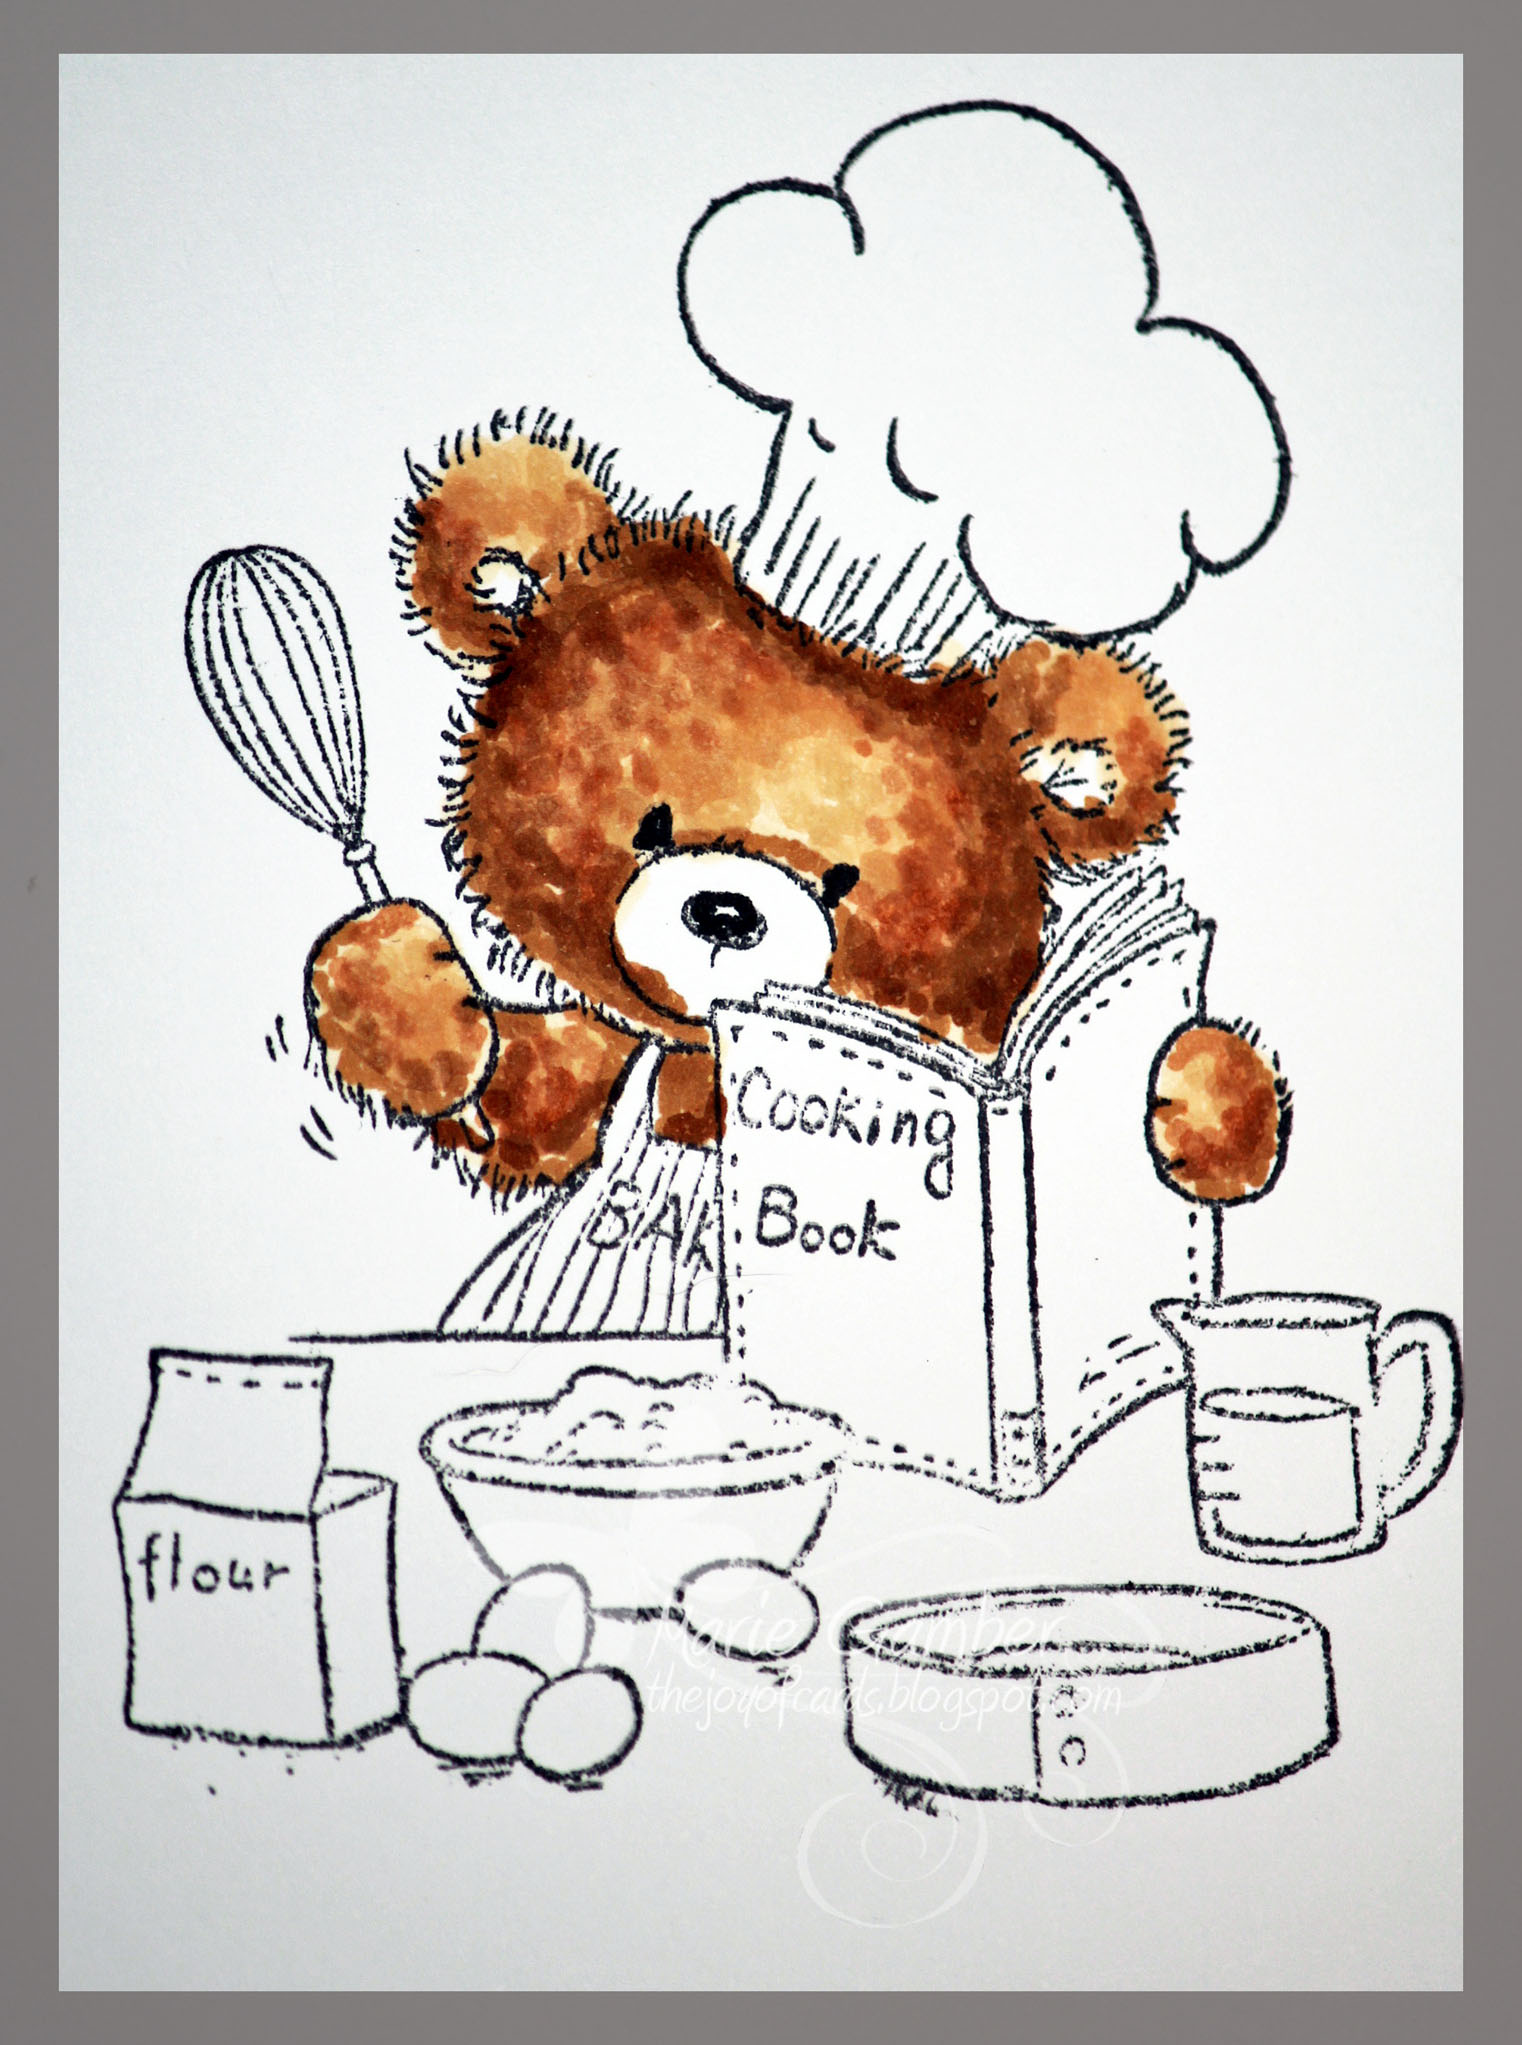
I added E37 very sparingly to areas few areas that have the greatest amount of shadow.
This is totally optional. I just really like contrast.
The goal is to have the viewer look at the image just a little longer than they would naturally look.
Graphic designers state that high contrast will grab the viewers eye and their product would stand out! :D
An extra second or so is all that is needed in the world of sales :D
This is totally optional. I just really like contrast.
The goal is to have the viewer look at the image just a little longer than they would naturally look.
Graphic designers state that high contrast will grab the viewers eye and their product would stand out! :D
An extra second or so is all that is needed in the world of sales :D
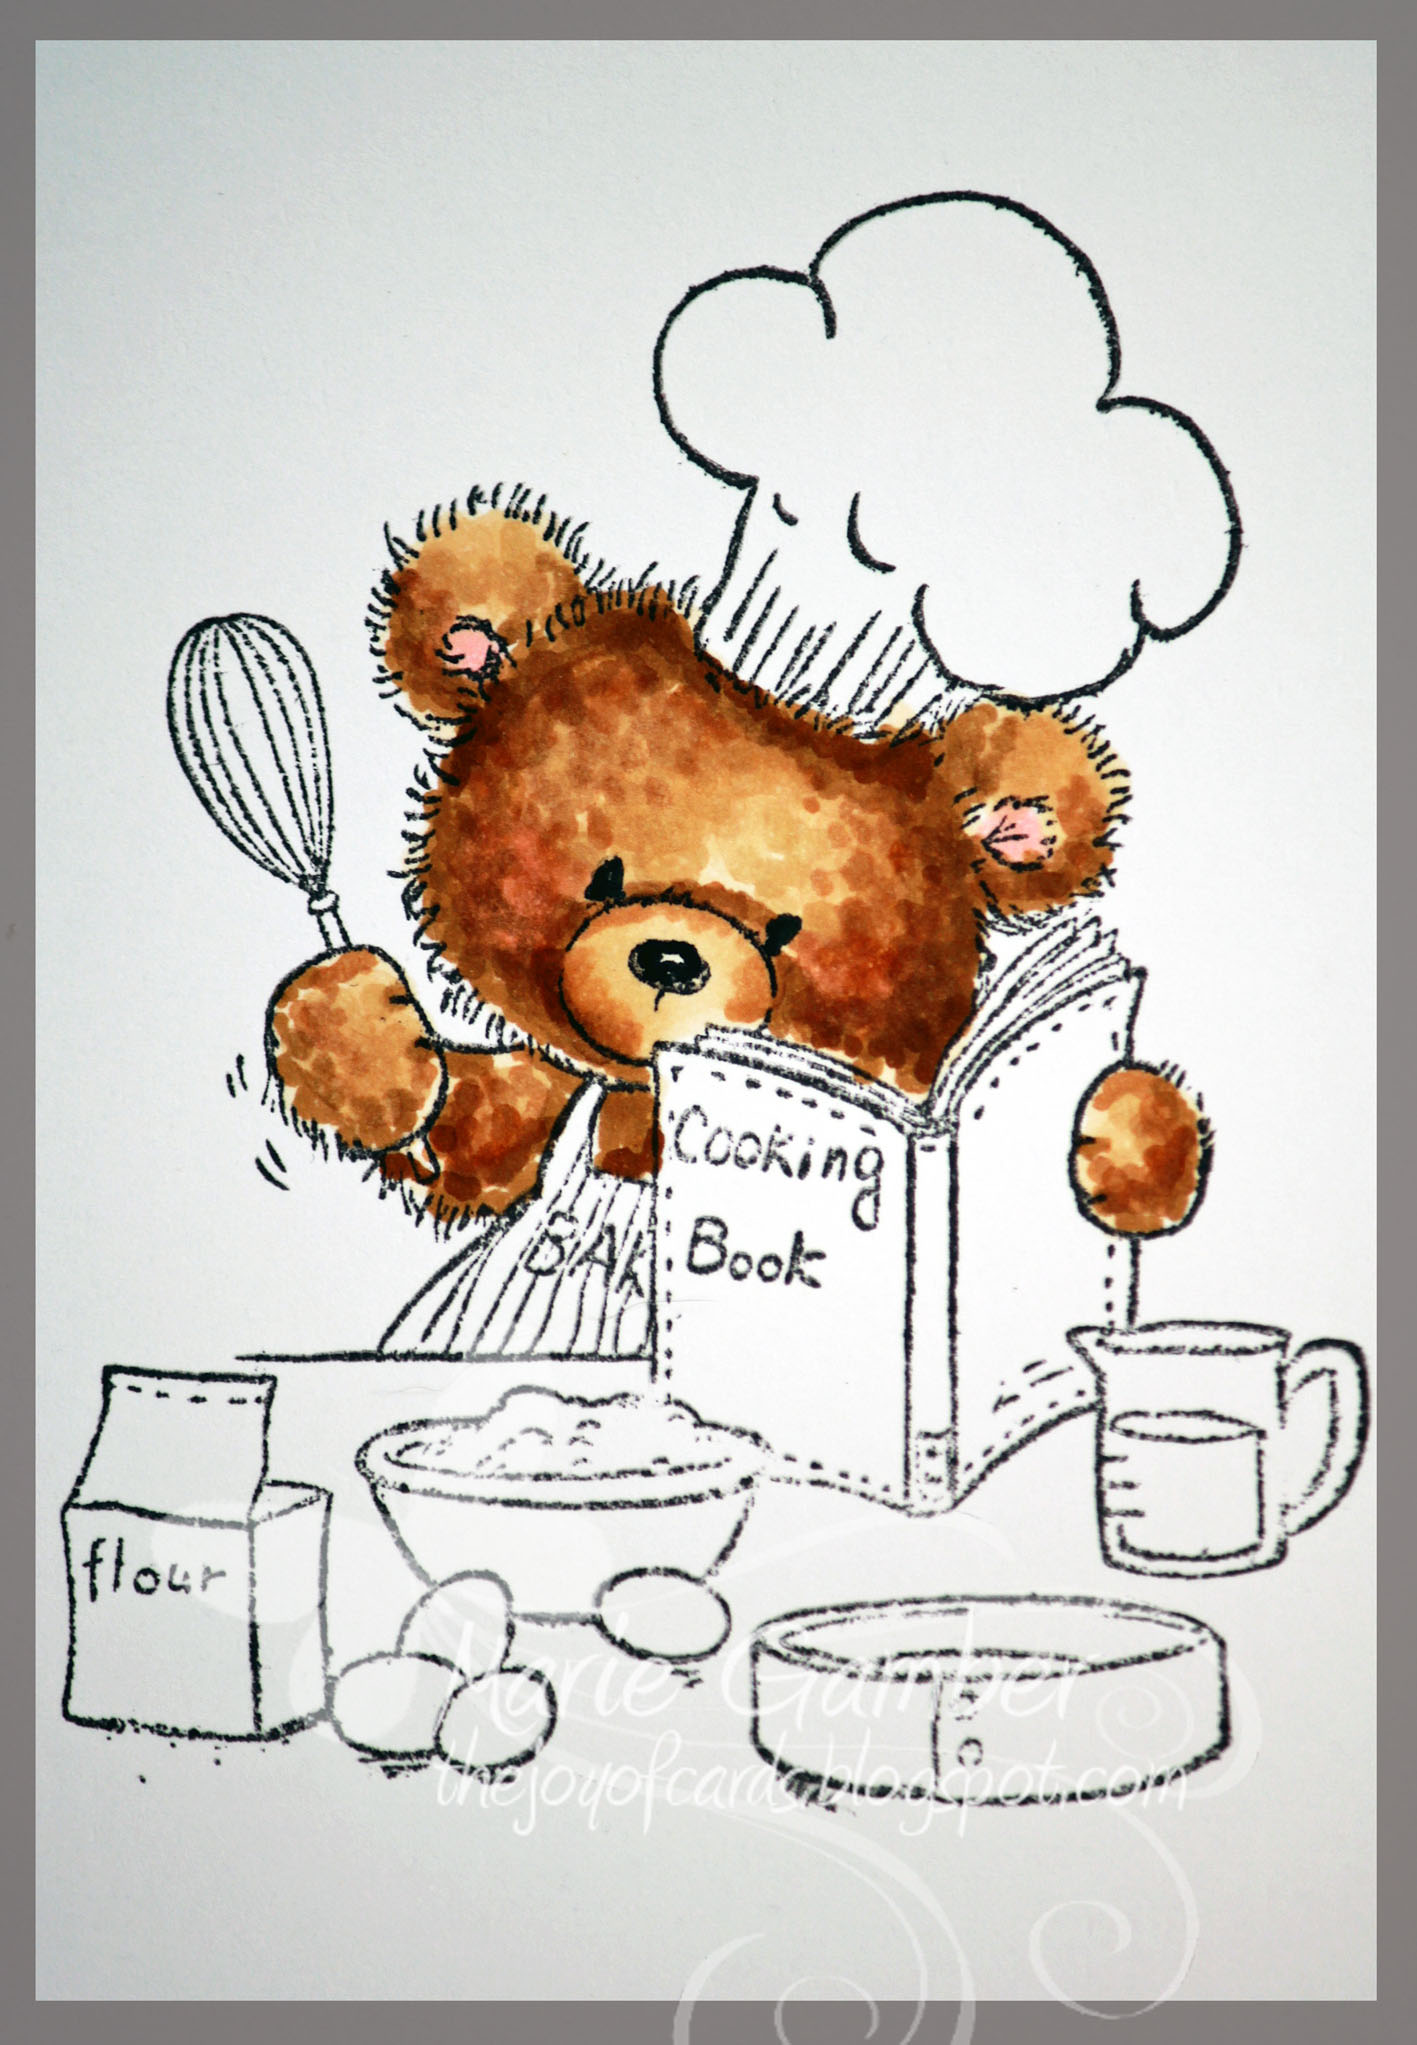
The muzzel was finished with a little E31 and E30.
Think of a ball and apply the darker on the outer side blending toward the center.
The blush of R20 was applied to the cheeks and inner ear.
I used a Copic Black Multiliner to darken the eyes.
One cannot have a little bear without dark little button eyes!
Think of a ball and apply the darker on the outer side blending toward the center.
The blush of R20 was applied to the cheeks and inner ear.
I used a Copic Black Multiliner to darken the eyes.
One cannot have a little bear without dark little button eyes!
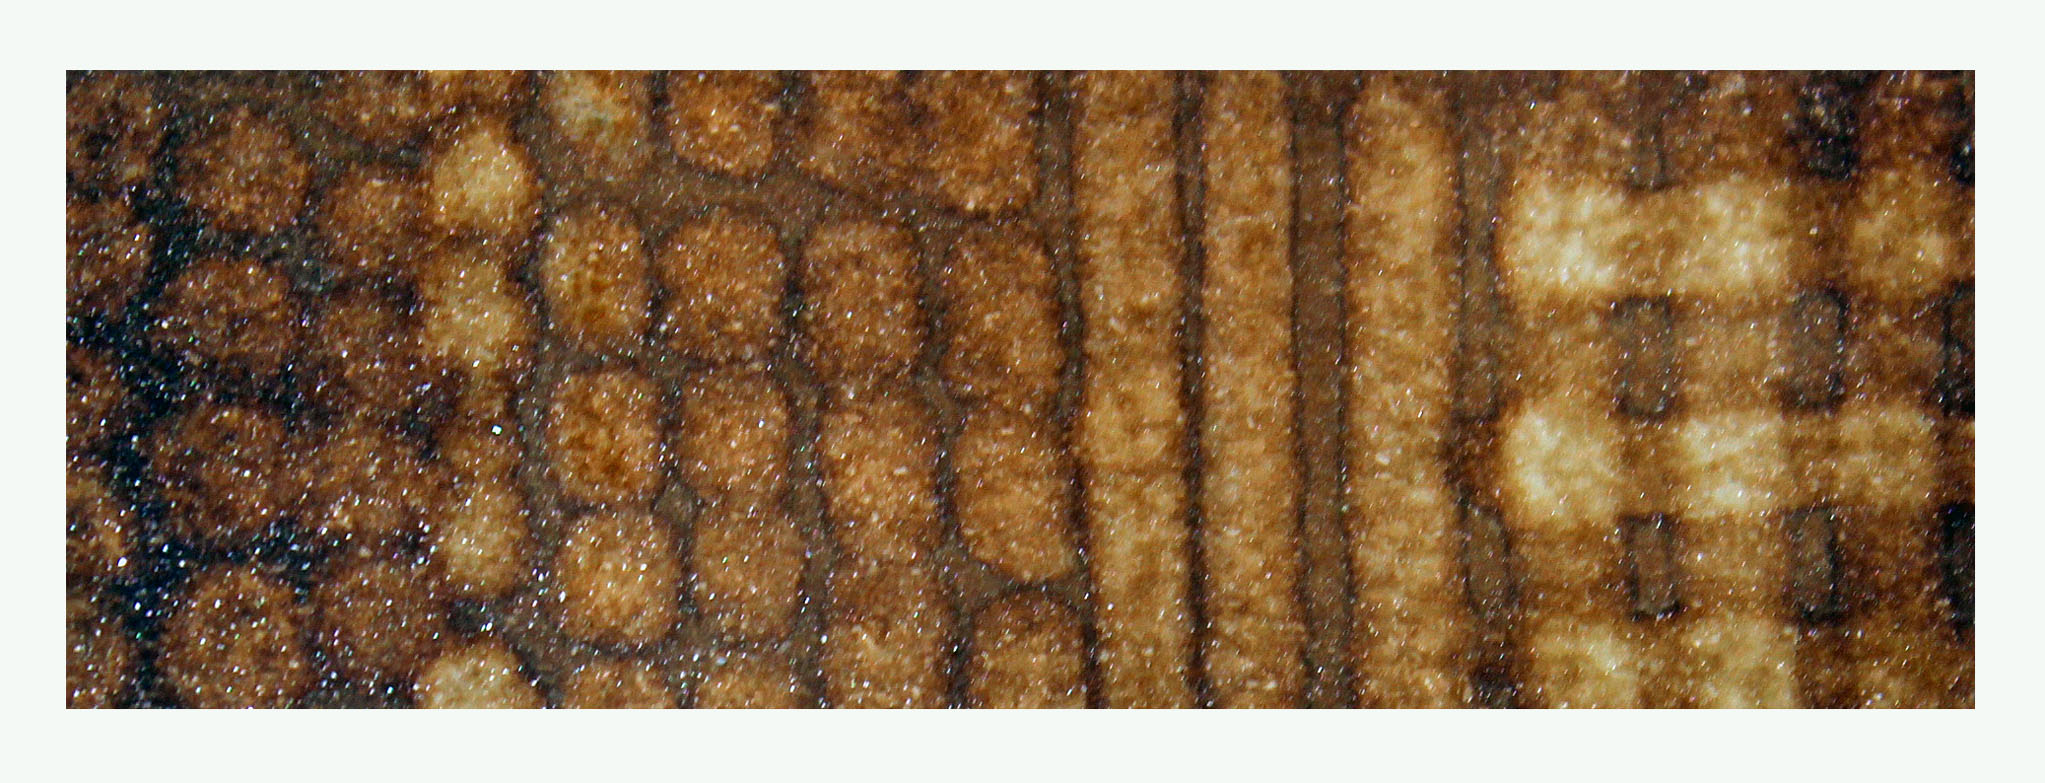 This is a sample of different fun things one can do with a Colorless Blender.
When an area is colored and the ink is dry, a colorless blender can be dotted or pushed in a line fashion to add texture.
Dots can be sporadic or lined up like bricks. The lines can be in one direction of in a plaid formation.
The important thing to remember about a colorless blender is that it is NOT a BLENDER.
Dots can be sporadic or lined up like bricks. The lines can be in one direction of in a plaid formation.
The important thing to remember about a colorless blender is that it is NOT a BLENDER.
Colorless blender is actually a MOVER of color. It will just move it into the surrounding area.
The brush or chisel can be used.
The method you choose depends on what you are trying to texturize and what effect you are going for.
The method you choose depends on what you are trying to texturize and what effect you are going for.
I will create a video on texturizing next week! It's a lot of fun!
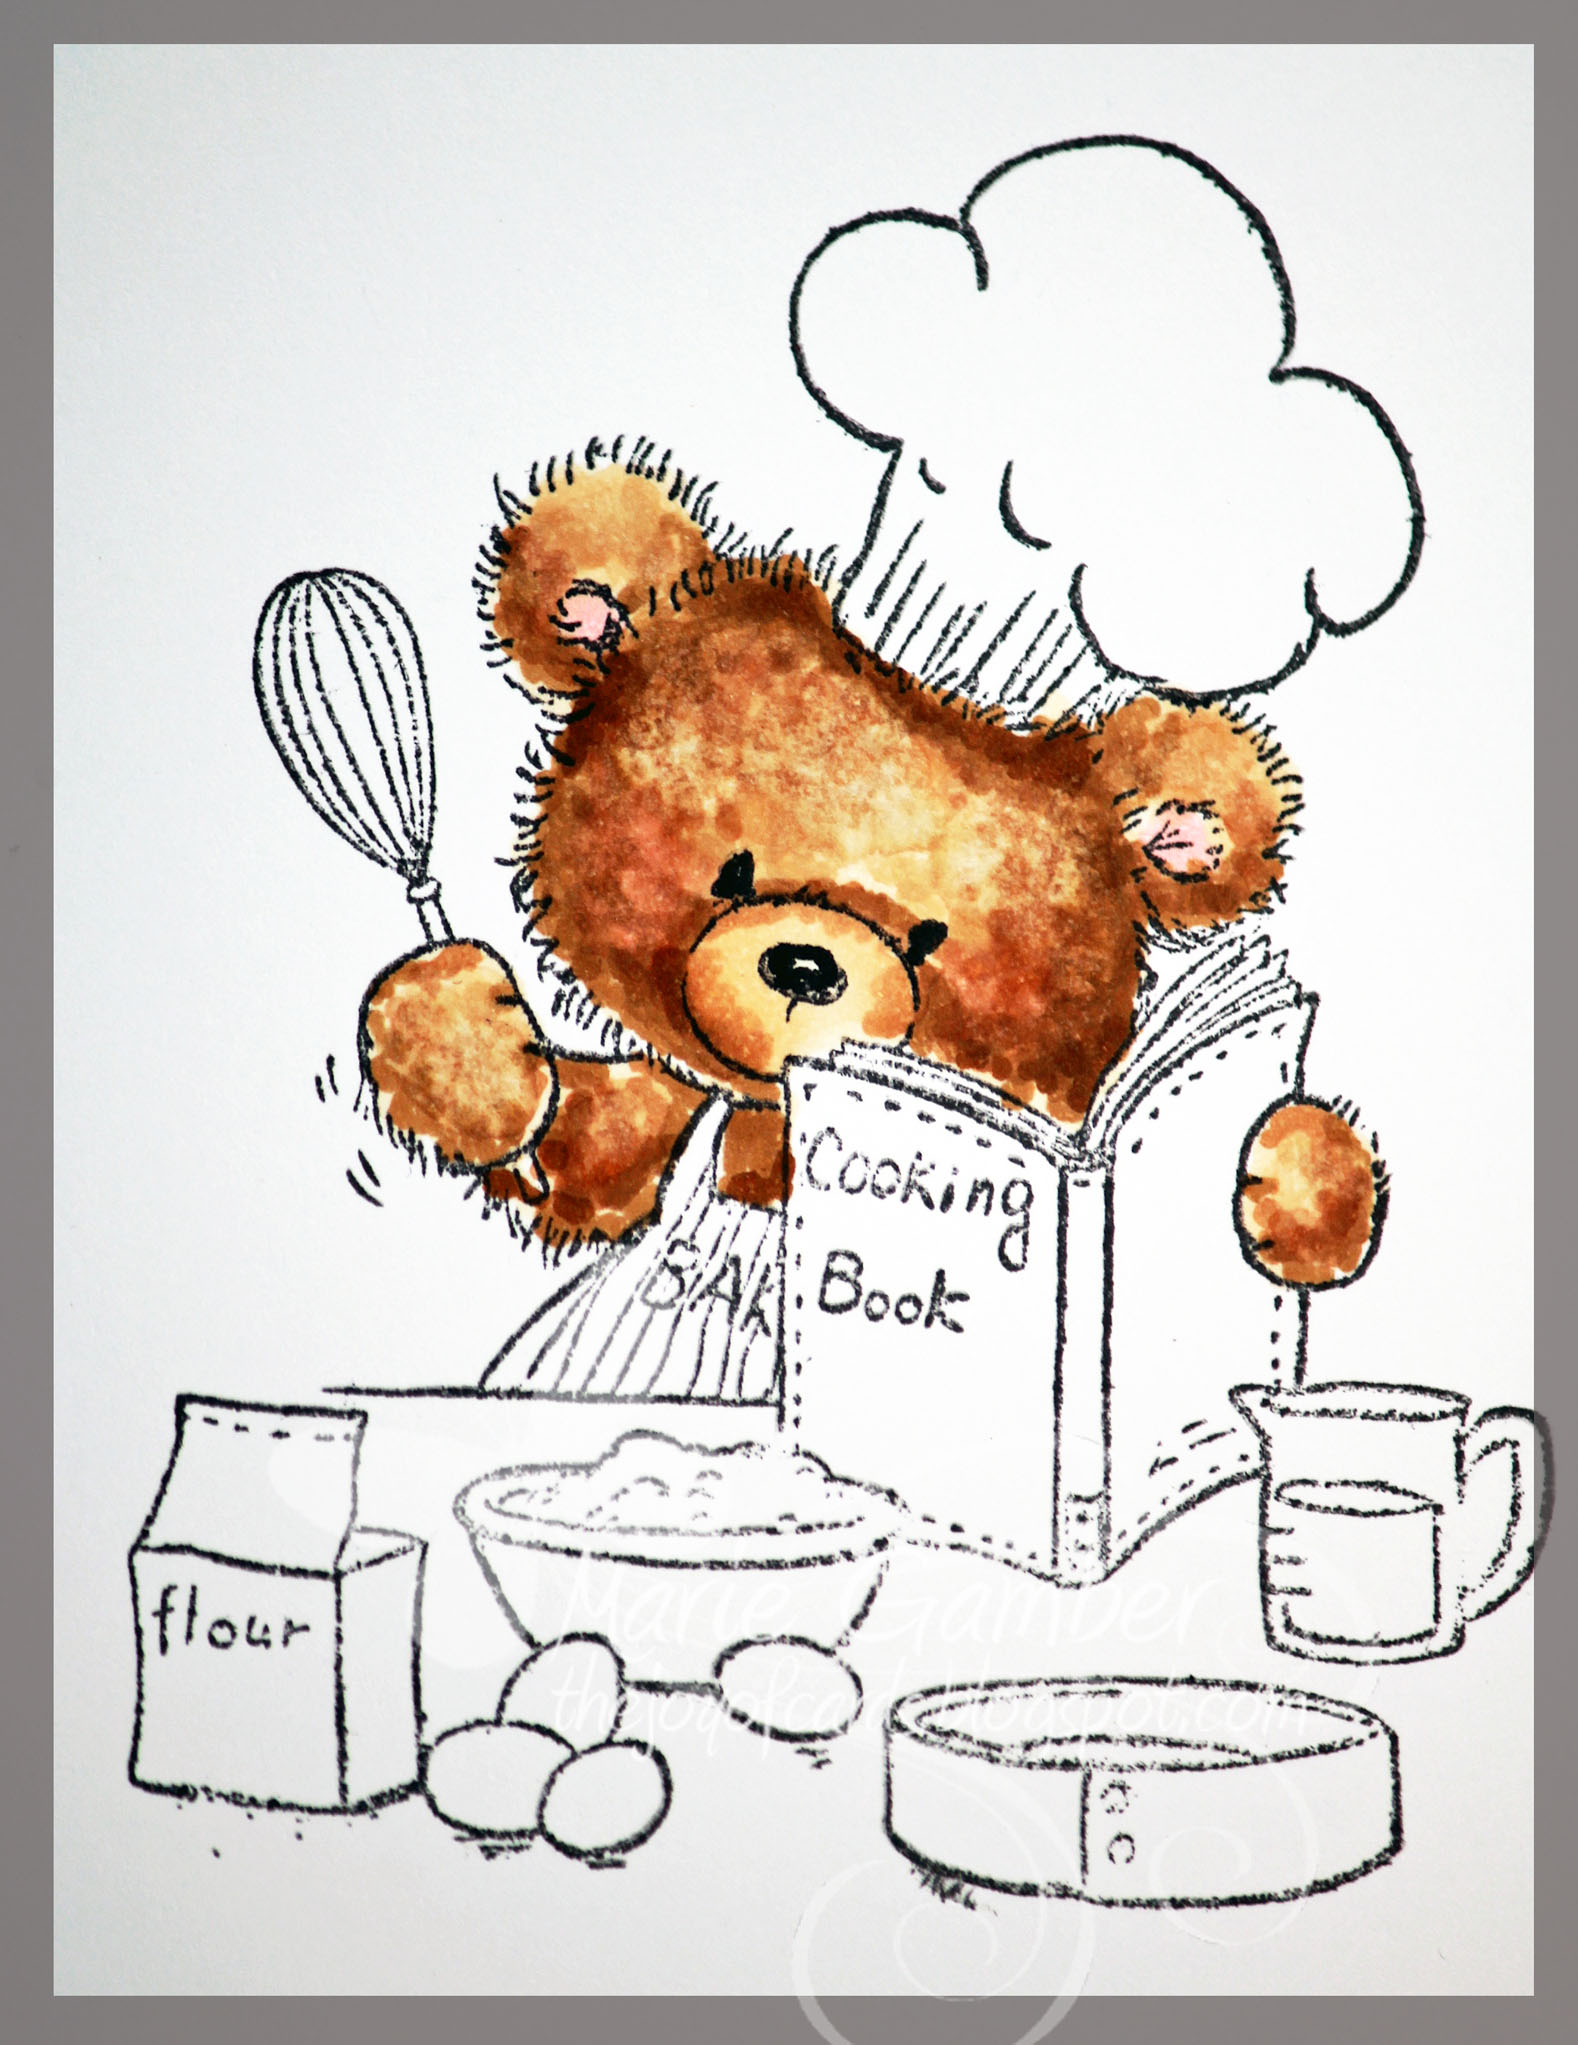
I used the stipple method for my fur and so I did a stipple method for texturizing the fur with my Colorless Blender.
The ink was dotted over the image in an up and down manner.
I avoided the perimeter of the face or areas I wanted to have the darkest shadows.
Texturizing with the colorless blender moves the ink away from the nib. Avoid moving the ink away from your dark shadows.
The ink was dotted over the image in an up and down manner.
I avoided the perimeter of the face or areas I wanted to have the darkest shadows.
Texturizing with the colorless blender moves the ink away from the nib. Avoid moving the ink away from your dark shadows.
The highlights are not bright like they would be if you were coloring human hair.
Fur does not reflect light well.
Fur does not reflect light well.
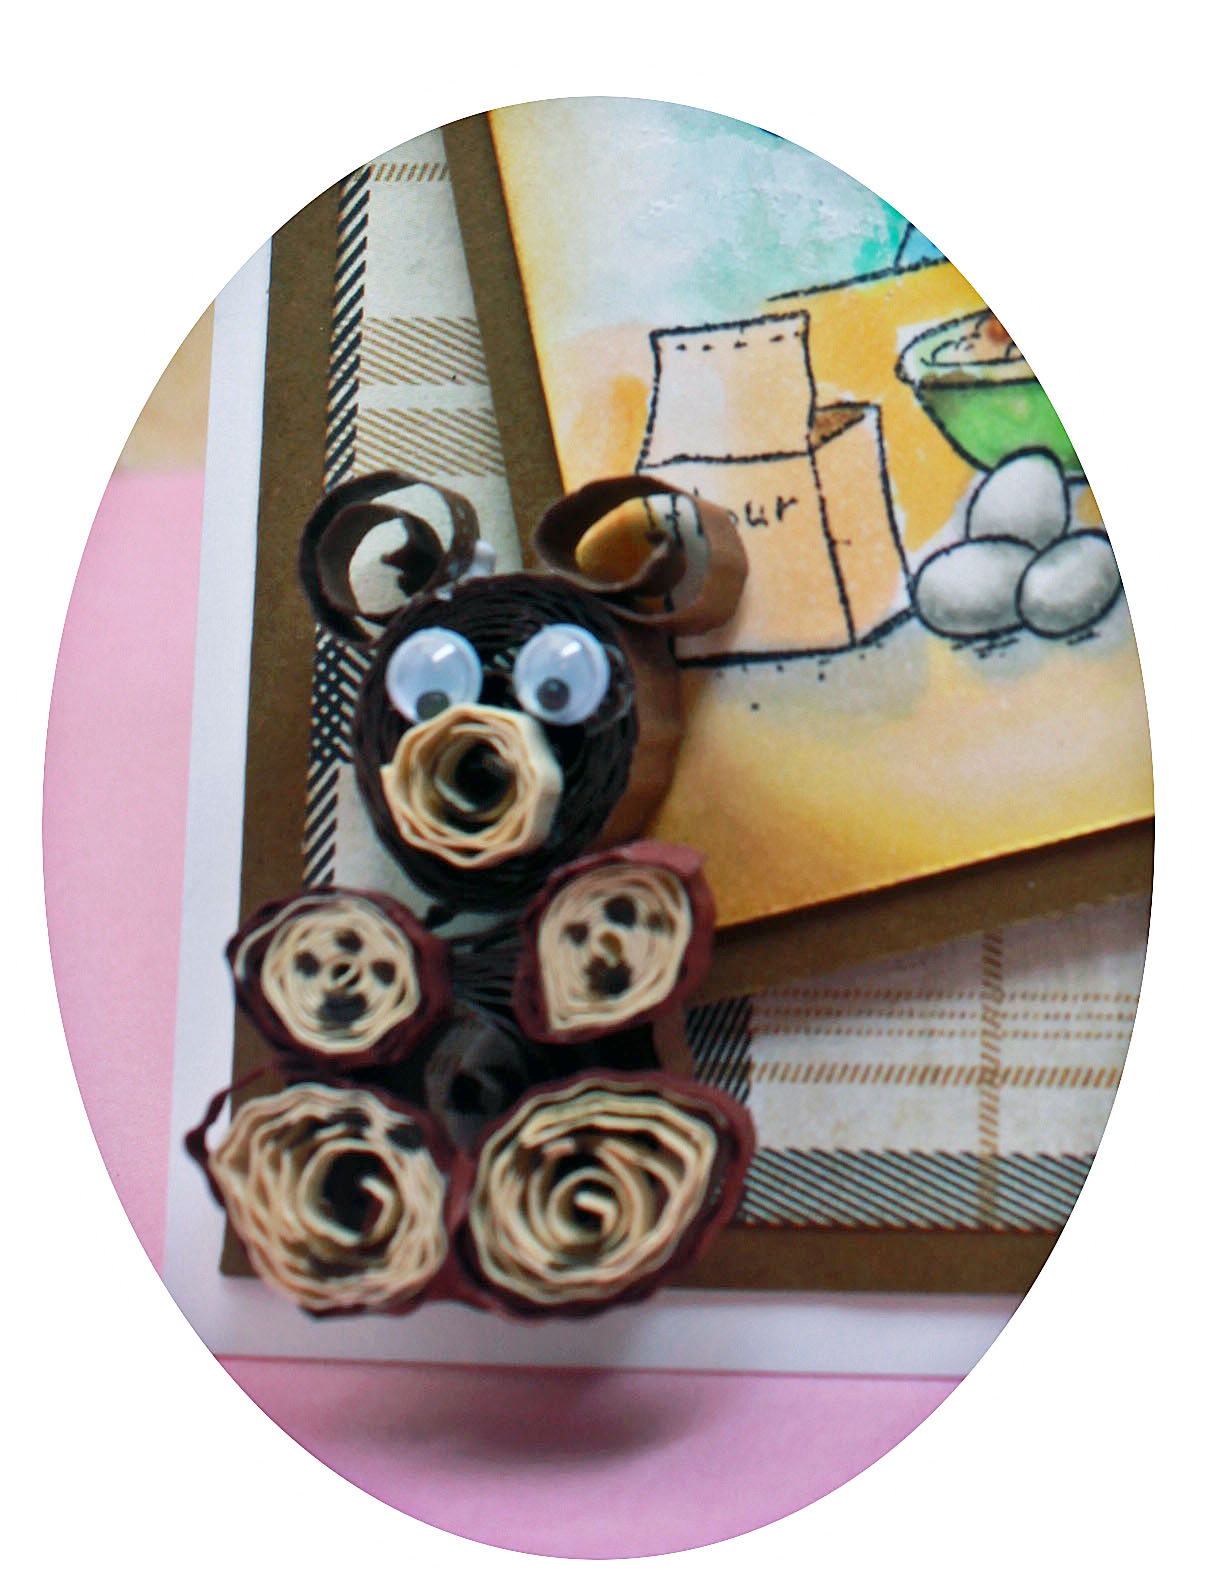
I hand qilled a little scruffy bear to coordinate with my image.
I used a crimper on my paper strips to make the texture match the furry texture of my image.
I used a crimper on my paper strips to make the texture match the furry texture of my image.

This is the completed card.
I am linking this card with the following challenges:
Love to Create: Anything for Kids
Challenges 4 Everybody - Anything Goes
Craftitude - Anything Goes or Corrugated paper
I hope you liked this tutorial. I will have another step tutorial and mini video for you on April 16th so stay tuned :D
Love to Create: Anything for Kids
Challenges 4 Everybody - Anything Goes
Craftitude - Anything Goes or Corrugated paper
I hope you liked this tutorial. I will have another step tutorial and mini video for you on April 16th so stay tuned :D