Thursday, October 30, 2014

Here Comes Frosty! A tutorial on Extreme Warm Gray Shading with Copic Markers

mp103914a
Hello everyone!
The Holidays are coming and I wanted to get a jump start  on some Holiday cards!
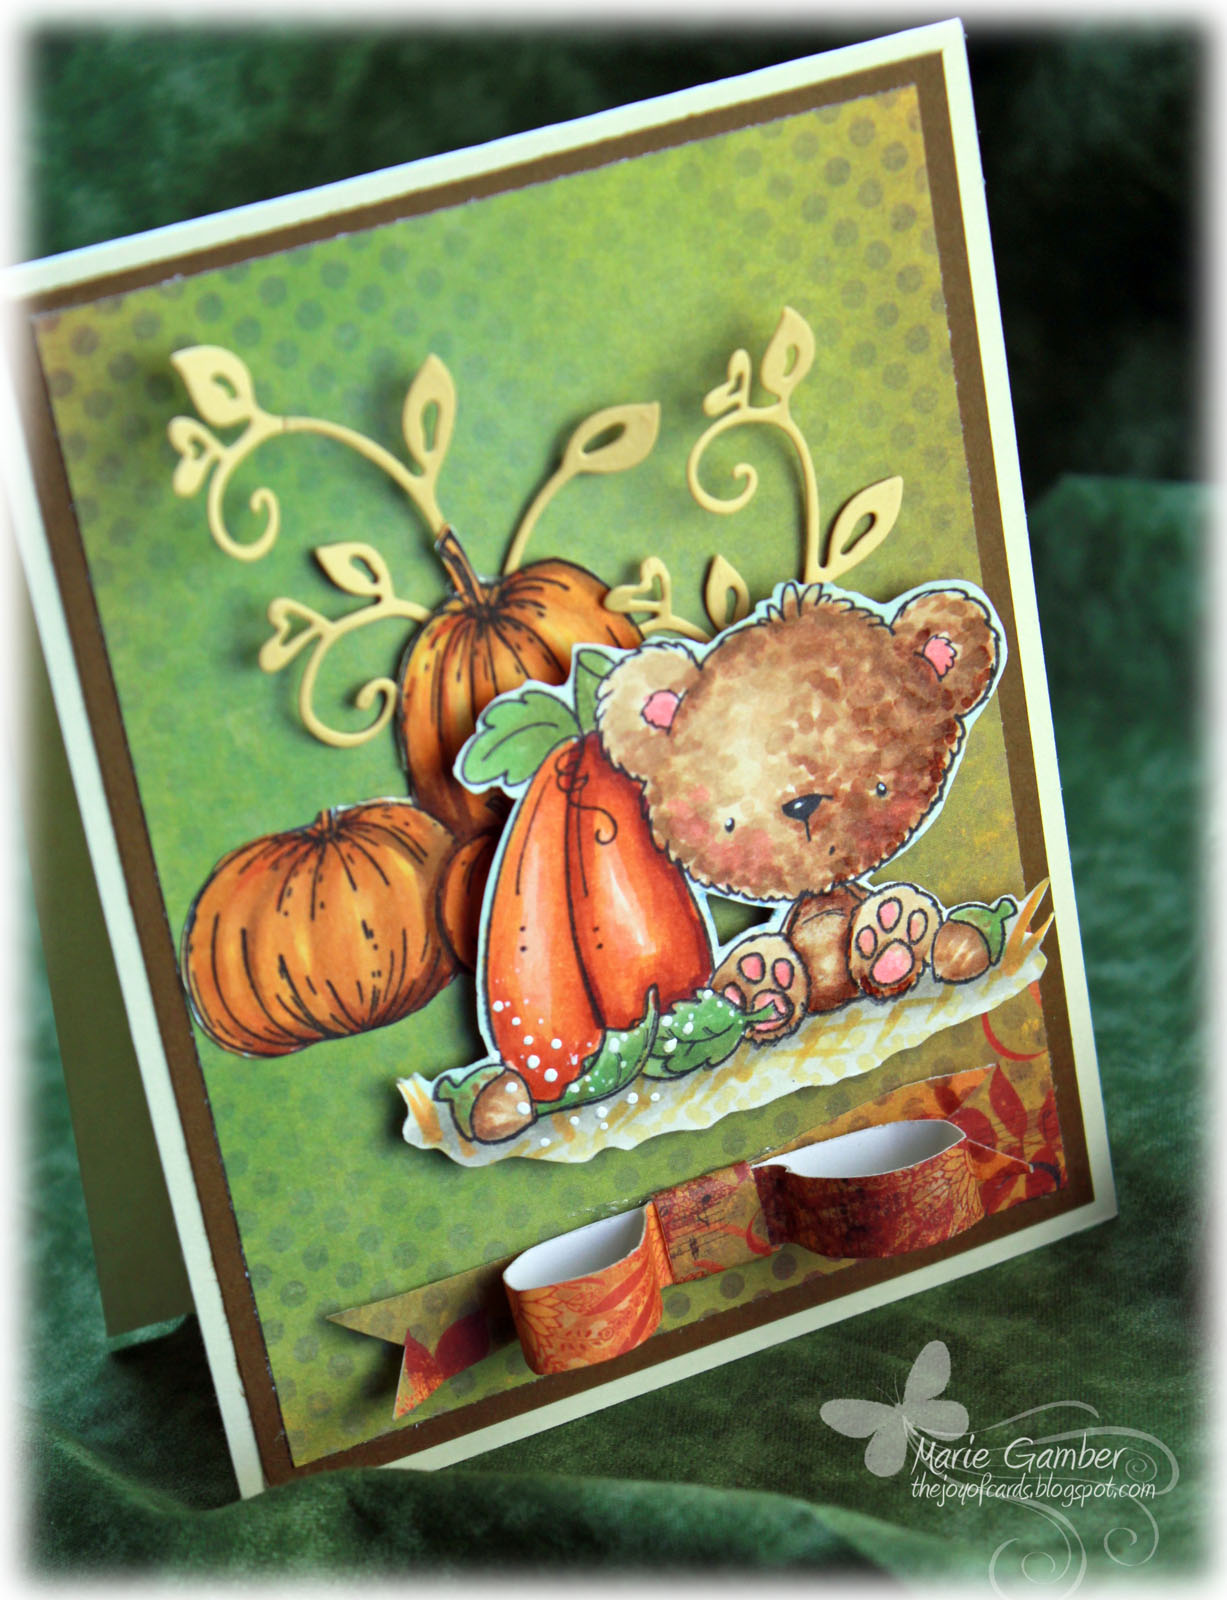
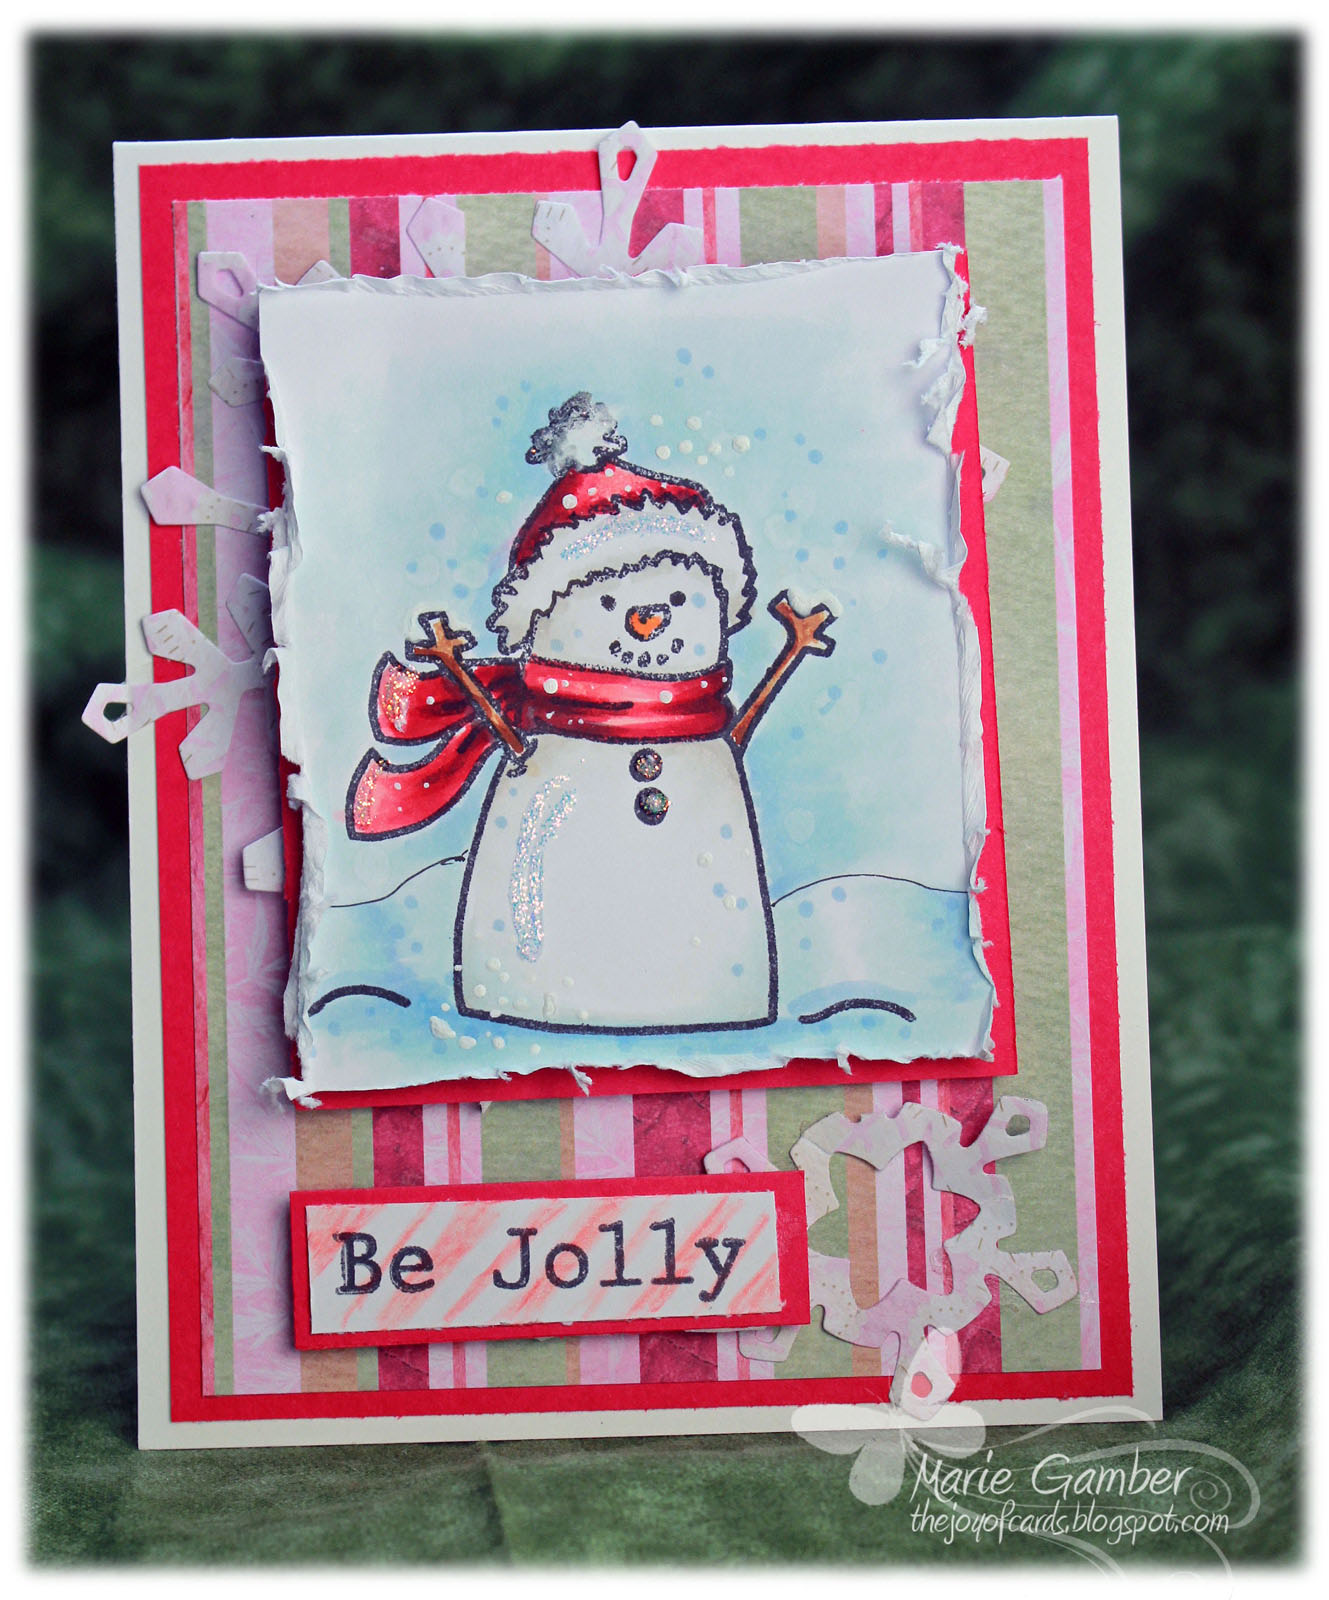
When this  wonderful stamp  arrived in the mail, I just knew I had to color it right away -
Frosty  kept it  calling my name!
Have YOU ever had that happen?! LOL
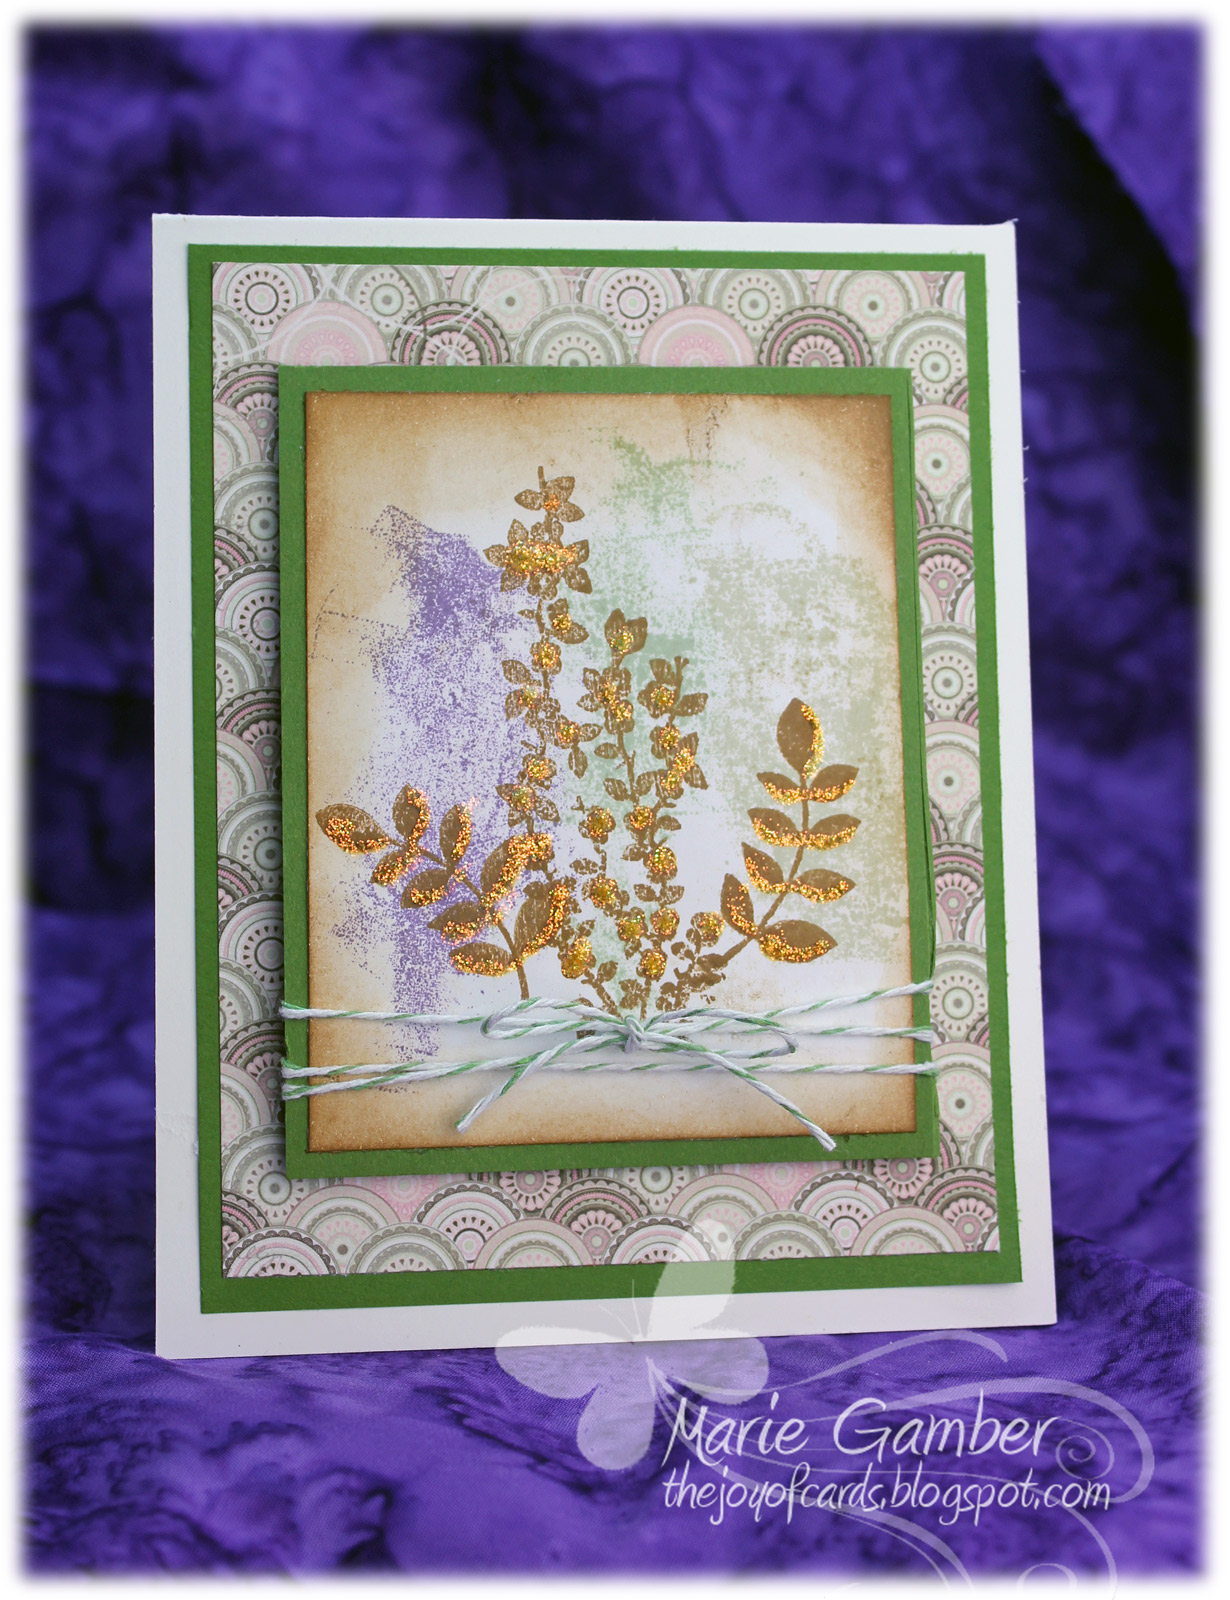
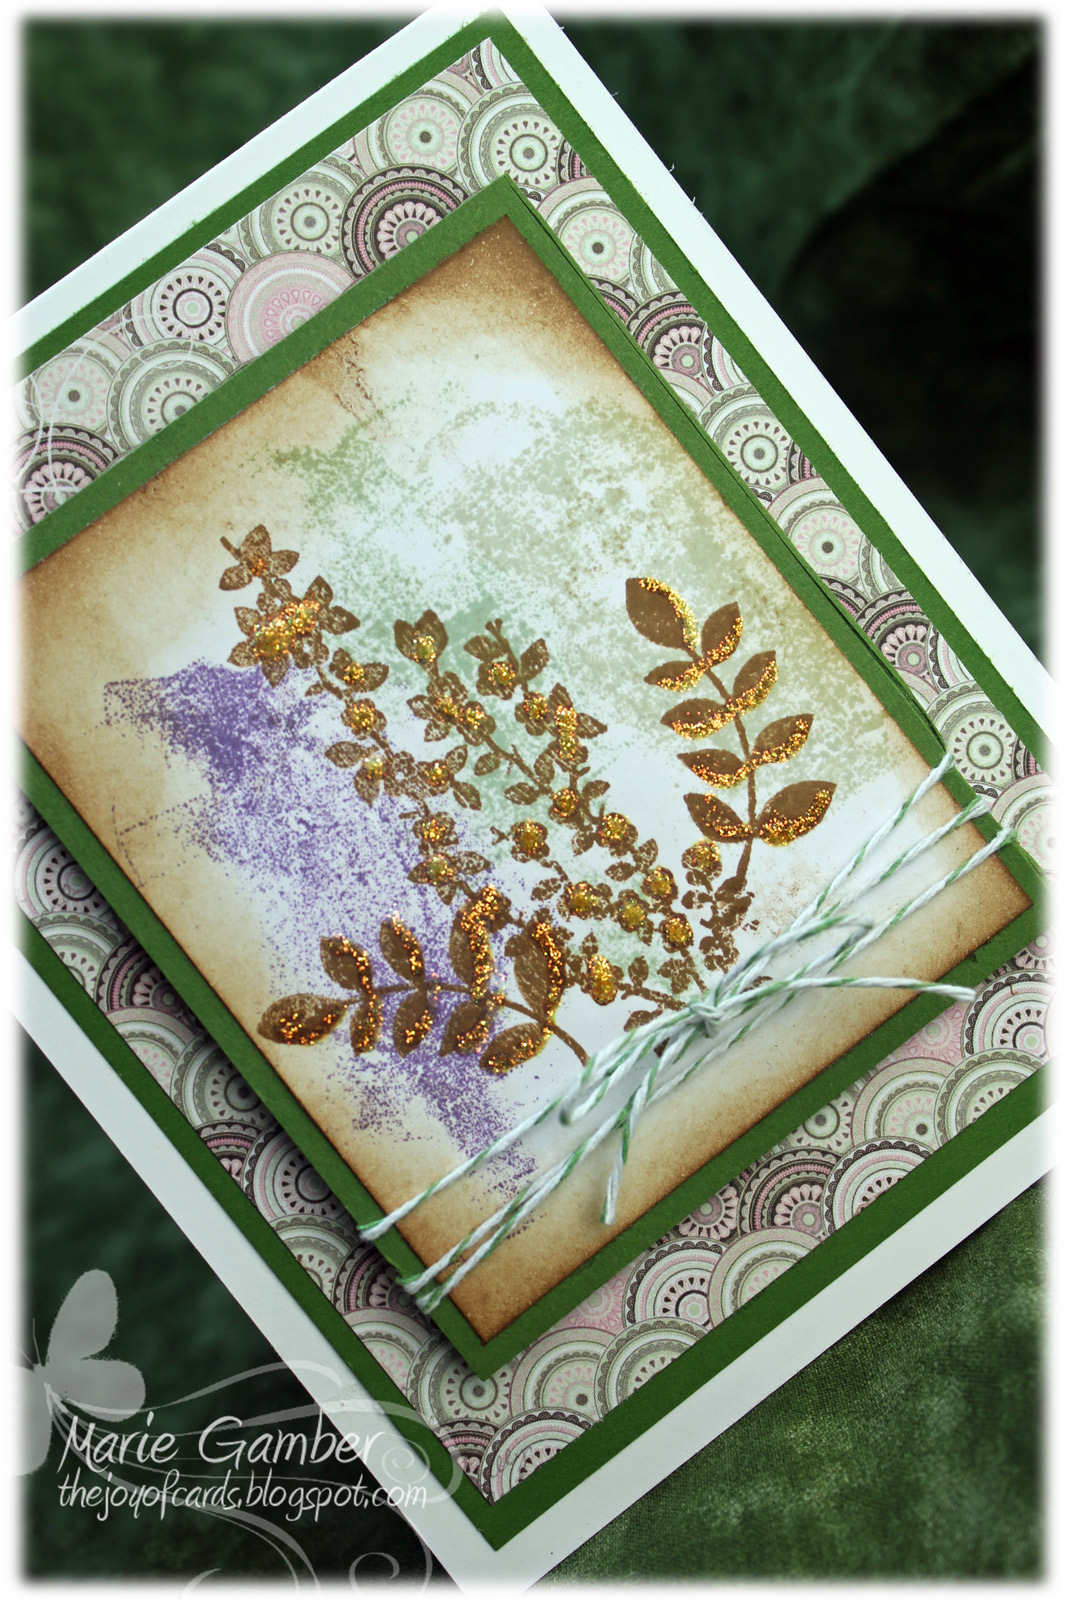
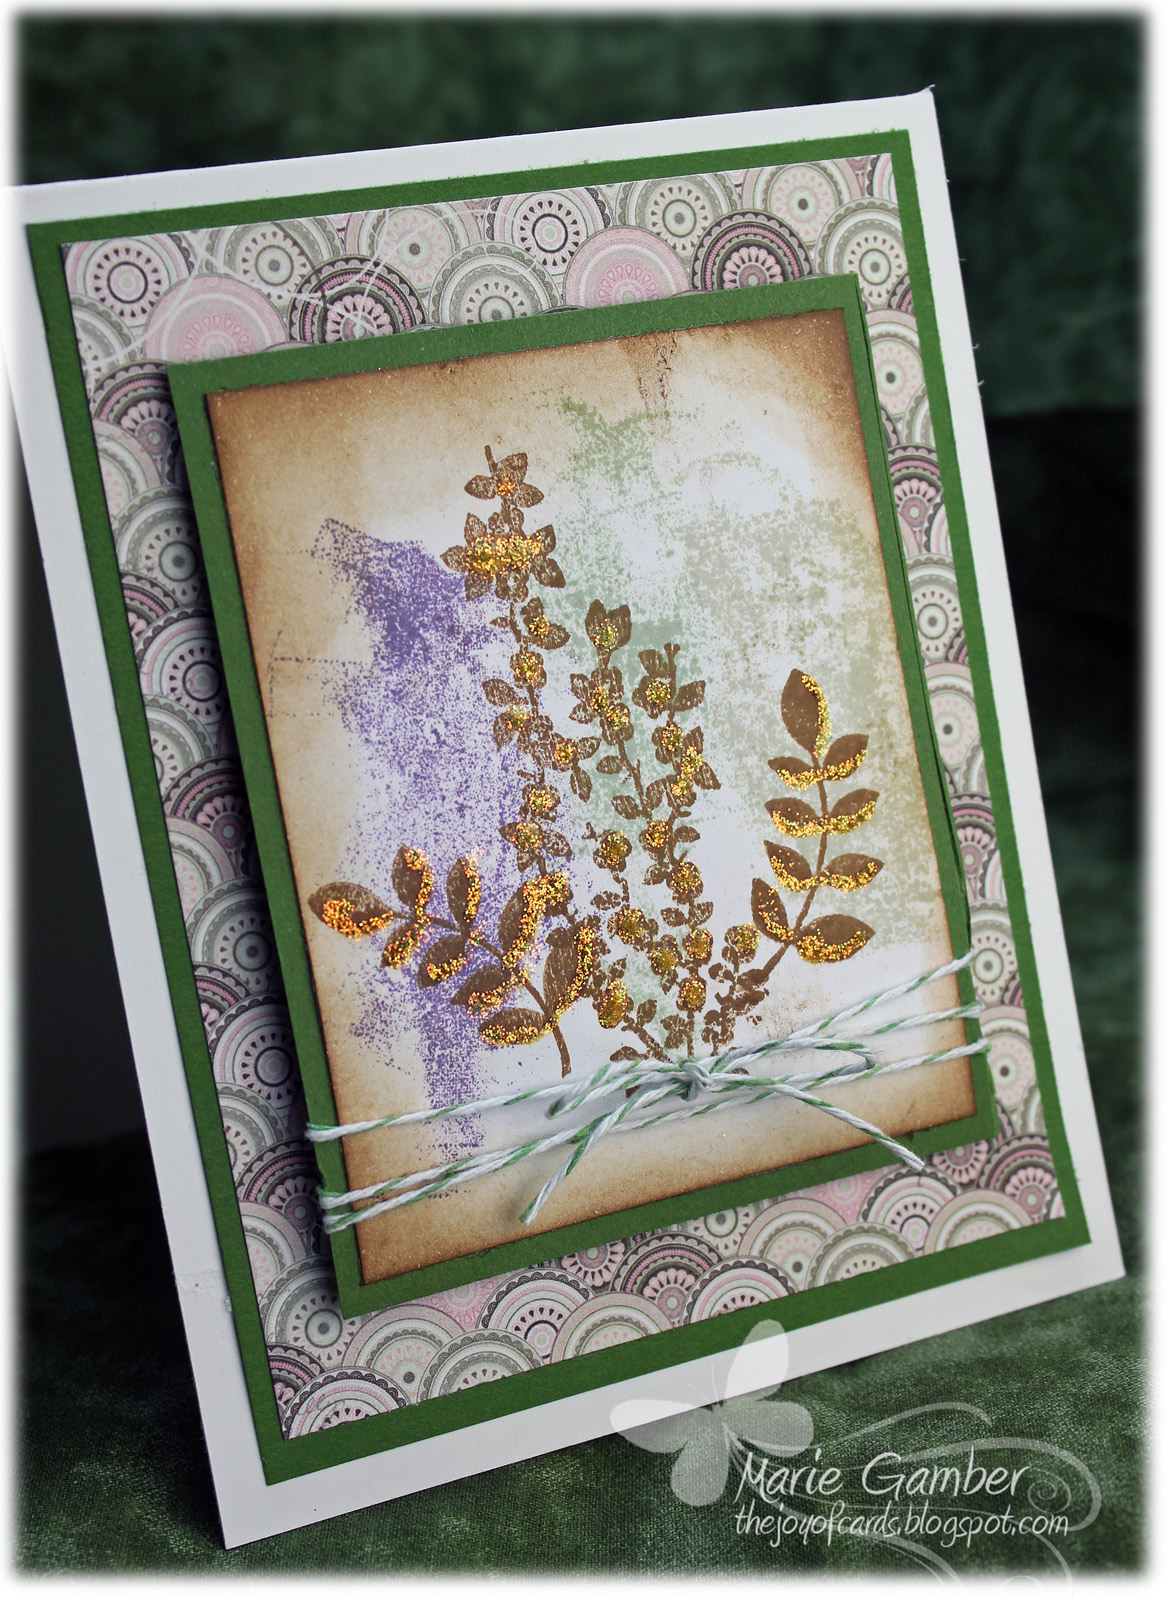
I wanted to share my technique for creating "Extreme Shading with Warm Gray".


Other YouTube Tutorials HERE

mp103014b

SuppliesChrstmas
Paper
Card Base: Heavenly White 120# White Cardstock
Focal image: X-Press It Blending Card
Designer Paper:  Holly Lane (WRS)
Layer Paper: Bazzill Card Shoppe - Lollipop
mp103014c
I used the "Be Jolly" sentiment that comes with this stamp set.
I used a red colored pencil to add a
candy cane effect.  Fun!  
mp103014e
I hope you enjoyed my tutorial!  
Thank you so much for stopping by and visiting!
Have a wonderful and safe day! :D    

badge_marie

Friday, October 24, 2014

Autumn Teddy Bear - 3 Step Technique

Hi there! Marie here with another mini video for you. I will show my 3 step technique for coloring fur.
In this video, I will combine the following techniques
Dimensional Coloring
Stipple Technique
Colorless Blender
***

My other video's can be found
HERE

mp102414bb
Supplies Used
Paper
120# White cardstick base
Bazzill Peanut Fudge Cardstock
Cryogen - Curious Metallic
Autumn Song Collection by Bo Bunny
mp102414c
The paper bow was created with my left over designer paper!

mp102413b

Thank you so much for stopping by.

Have a wonderful crafty day :D

badge_marie

Monday, October 20, 2014

The Gift of a Feather


Hello!   It's Monday morning and the start of another week!    

Totally Gorjuss has a challenge with the theme of using a feather.   
It made  me think of  a poem that spoke of a bird giving the greatest gift he had-  
It was a feather -  It was a gorgeous poem and for the life of me - I cannot find it anywhere!  
Please let me know if anyone knows where I can find this poem.  
It is so beautiful!   

It is my turn to post at our wonderful Paper Temptress Blog!   
Of course I eagerly pulled out my beautiful paper from Paper Temptress!  
 I did not have a stamp with a feather so I decided to sketch it myself!
I found my inspiration from my three feather babies!   


Supplies

Image
 Sketch (Marie Gamber)

Cardbase:  Heavenly White 120#
Focal image and embossed layer:  Neenah - Solar White - 80#
Mat layers for card base and focal image:  Deep Blue Crepe Ruche
Look at that texture! 


Ink
Copic Alcohol Ink Markers
Copic Opaque White Ink
Copic black multiline 0.03mm


Thank you so much for stopping by.
Check out all the fantastic paper that in at  Paper Temptress!
You will think Christmas has already arrived!   
And check out the wonderful challenge at Totally Gorjuss.
I hope to see your card or project there! 


Sunday, October 12, 2014

Boil and Bubble, Toil and Trouble!


It's Monday and I the start of another week!    
I want to share a card I created for our new MarkerPOP Blog Challenge
with "Halloween" for the theme!  

It's also my DT share for My Besties and I want to share how I made this 
cute little witch's broom to coordinate with the boom
on my card!    Just check out the video !  
***

  My other YouTube videos can be found HERE


Supplies

Stamp

Ink

Paper
Designer paper:  Stardust 
Vellum,  Kraft card stock, packing paper or tissue paper

Other
Distress Tool
Tootsie Pop


I colored the image with Copic Alcohol ink markers.  
I added some bubbles coming up from the BREW.
"Boil and Bubble - Toil and Trouble"!

I then created a little witch's broom.
There are many techniques out there in cyber-space.   
I have used Kraft card stock and vellum.   
However, you can also use packing paper or tissue paper!    
Isn't it cute?    
Tutorial can be found on the video!    

I hope you will check out all of Sherri Baldy's great Halloween images and
stop by our MarkerPOP Blog and join in on our
Halloween Challenge!   

Hugs,
Marie


Tuesday, October 7, 2014

Ink Transfer Background

mp100814a
Hello everyone!
Today, I am going to share a technique I learned from a great crafter and friend,
Patricia St. Martin from Rubber Stamping is My Game.
Ink Transfer Background
***

My other Video Tutorials can be found HERE.

100814c
Supplies


mp100814d
Thank you for stopping by!
Hope you enjoyed my tutorial on Transfer Ink Backgrounds.

Have a great day and I will see you soon!  

badge_marie

Sunday, October 5, 2014

Flowers Just For YOU


Hello and WELCOME!

Totally Gorjuss has a challenge this week that inspired this card.
The challenge run's through Friday and the theme is...
"Sympathy" or "Sorry"

I confess that I am a shopaholic! I recently visited Patricia from The Paper Temptress
and I got a little carried away with all the paper selections.  
I left with two big boxes filled with gorgeous paper!
I used some for this card.
Take a look!


Supplies

Paper
Focal Image : Neenah Solar White 80#
Card Base: Heavenly White 120# 
Layers:  Grape Sorbet
Designer Paper : Butterfly Glade (WRS)

Ink
Copic Alcohol Ink Markers
Copic Opaque White
Background Wash: Watercolor
Tim Holtz Vintage Photo Distress Ink (Ranger)
Memento Tuxedo Black


Inspiration for the day

Thank you for stopping by!   
Take care and have a safe and wonderful week! 


Saturday, October 4, 2014

Pumpkin Spice and Everything Nice!


Hello and happy Thursday!

Marie here with another mini-tutorial on a new Copic color combo- 
The air is getting a bite in the air and the tree's are getting their gorgeous Fall coloration
 in my little part of the world. 
It's time for pumpkin pie and all the goodies with the wonderful flavors of cinnamon and nutmeg!

 That inspired me for our next color combo!
Pumpkin Spice
YR23, YR16, YR15, YR12 and E35 for high intensity.
***


My YouTube Tutorials >  HERE

Christina Z, a wonderful member of our MarkerPOP Community 
requested a tutorial on coloring pumpkins. 
I have a new stamp with a pumpkin on it but it's size is small. 
I will create a card using that stamp but I wanted to color a larger pumpkin 
for the purpose of this tutorial. 
Therefore, I pulled out a pencil, sketched a large o.e' lopsided pumpkin  
added some leaves and then traced over it with a Copic o.o3 multiline pen.
 I then erased the pencil and began coloring! 
 This one's for you Christina - and I hope I do it justice!

mp100114b

Supplies
Stamp/Image
Witch Way is the Candy  (My Favorite Things)
Large pumpkin (hand sketch - Marie Gamber)
Paper
Apple Cider Collection (Bo Bunny)
120# white card stock for card base
Other
Distress Tool
Pearl
Grape Leaf Punch
Tim Holtz Burlap Stencil
Sponge Dauber
mp100114bb
Copics Used:

Pumpkins YR12, YR15, YR16, YR23 E35
Leaves:  a combination of fall colors and  a lot of colorless blender
Dress/Socks: BV000, BV00, BV01, BV04, BV13
Cape/Hat/Boots:  T00, T1, T3, T5, T8, B23
Hair: E99, E21, E23
Broom E35, E99, E13, YR21, YR23,
Background
Watercolor Wash
Copics BV01
Copic T3
Gray Colored Pencil
Copic Opaque White Ink

mp100114c


 Thank you for stopping by!   
I hope you have a safe and wonderful day! 

Marie