Wednesday, April 30, 2014

Happy Birthday to Someone Special

Welcome!  
It has been a strange day today!  It is cold, raining and we even had some hail!   What's with that at this time of year?  LOL   

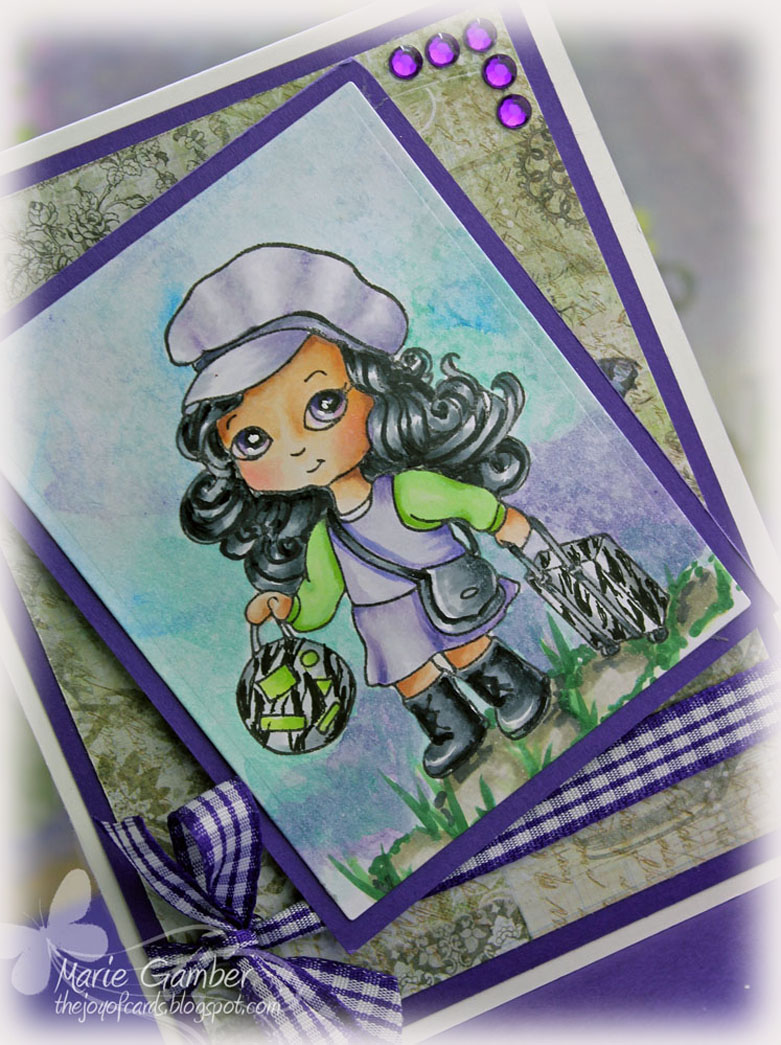
This is a tag I created for our CMC Challenge!   Our wonderful sponsor is iCopic  and I used an image that recently arrived in my mailbox from the sister online shop, MarkerPOP!.   
LOVE Mail!  
And I love this little guy!  

Our challenge is to "create a birthday card"!     

Stamp:  Teddy with Gerbera by Wild Rose Studio. 

Paper: X-Press It Blending Paper (X-Press) 
Copic Alcohol Ink Sketch Markers (.too Corp)
 Copic Colorless Blender (.too Corp) 
Copic Opaque White Ink (.too Corp) 
Copic Black Multiliner 0.03 (.too Corp) 
Memento Black Tuxedo Ink (Tsukineko)


I will be linking this card with the following wonderful challenges
 CMC Challenge!   :  Birthday! 
Crafting by Designs - Anything goes!
Crafty Creations - Anything But a Card!

Thank you for stopping by.   See you soon.


Friday, April 25, 2014

Tilda with a Fantasy Flower


Hello everyone and Happy Friday!

Today I will be sharing a card I created for our challenge at The Outlawz: Twisted Thursday.  It is my turn to post and it is an "Anything Goes"!  

Our wonderful Sponsors for the month of April are:
and


Supplies:
 Paper: Heavenly White Cardstock 100# (Paper Temptress)
Stamp: Tilda with a Fantasy Flower. (Magnolia)
 Copic Alcohol Ink Sketch Markers
Copic Opaque White Ink (.too Corp)
Copic Black Multiliner 0.03 (.too Corp)
Memento Black Tuxedo Ink (Tsukineko)
Vintage Photo Distress Ink (Ranger)
paper trimmer and paper punch
Tim Holtz Base Die - Sizzix

I am linking this card with the following wonderful challenges:
The Outlawz: Twisted Thursday. - Anything goes
Crafty Girlz - Anything Goes
C.R.A.F.T Challenge - Not a Card

Thank you so much for stopping by.


Monday, April 21, 2014

Terra Cotta Copic Color Combo

mp042114a
Hello everyone and welcome!
I am here with another MINI tutorial for you on coloring Terra Cotta Pots.
Copic Terra Cotta aYR27, YR24, YR21, YR20
Copic Terra Cotta Color Combo
Copic terra Cotta bYR27, YR24, YR21, YR20 with
High Intensity Sandwich YR27/E99/YR27
See how much contrast the high intensity sandwich adds to the combo?
terra cotta sand dCopic Terra Cotta Sandwich for high intensity shading
    (YR27 )            (YR27 + E99)           ( YR27 + E99 + YR27)


mp042114b
 Supplies:  
Paper:  X-Press It Blending Paper (X-Press)
Stamp: Tilda with Big Tulip Pot (Magnolia)
Copic Alcohol Ink Sketch  Markers (.too Corp)
Copic Colorless Blender (.too Corp)
Copic Opaque White Ink (.too Corp)
Copic Black Multiliner 0.03 (.too Corp)
Memento Black Tuxedo Ink (Tsukineko)
Vintage Photo Distress Ink (Ranger)
Disigner paper: Cherish  Paper Pack Pad (Authentique)
Crafter’s Companion Adhesive
D
otted Stencil (Ranger)
Shadows and Shading Book: Marianne Walker.
Q
uilling paper and tool.
Pearls

mp042114c
Copics Sketch Markers Used:
Skin tones:  E000, E00, E11, E21 and R20 blush
Hair: T1, T3, T4, T6,  T8
Shirt: R20, R22, sandwich of R56/T3/R56
Pants/Bib:  B20, B24, B26, B28, B72
Featured - Terra Cotta Pot:  YR27, YR24, RY21, YR20 and (YR4/E99/YR27)
Tulip:  R20, R24, R27, R56 and (R56/T8/R56)
Soil:  E30, E35, W5, E18, Colorless Blender
Leaves/Stem:  YG11, G40, G24, G45, YG63, G28
Shoes: T3, T4, T6, T8
Ground:  W4,  E56
Steps:
The image was stamped with Memento Tuxedo Black Ink.
I used a multiline to touch up any area that did not have a crisp stamp line.The image was colored with Copic Sketch markers.The background was applied with Copics using a dotted stencil.The layers were adhered with double sided tape.I embellished the card with hand quilled flowers.
Thank you for stopping by and check back next week for a tutorial on Toner Gray
and we will be coloring some straight and curly black hair!

I am linking this card with the following fabulous challenges:
Magnolia-ishous Challenge Blog - Flowers
A Gem of a Challenge - Spring is in the Air
A Creative Need - Signs of Spring
Chocolate, Coffee and Cards - Spring
Crafty Hands - Anything Goes
Craftitude - Anything Goes

Hugs,
badge_marie

Vintage Silver Lustre


Hello  and Welcome!
I just joined paper Temptress family as one of many of their fabulous designers.  I created this card using some our fabulous card stock.

The sun is out and it's great to feel the warmth again!  
 That inspired me to create this card with the image Buds and Vases (GKD).  I just got my order of new paper from Paper Temptress and I had a blast going through it. I just wanted to look at it all day!
pt042114b
Supplies
Card Base: Heavenly White 120# (Paper Temptress)
Focal image: Heavy weight  Neenah Solar White 110#
Mats: Jellybean Green  65#
Designer Paper : I created my own  by using Vintage Silver Lustre
Copic Alcohol Ink Refills (.too Inc)
Copic Opaque White Ink  (.too Inc.)
Large petite Oval Die (Spellbinder)
pt042114ccI colored my focal image on Neeah Solar White 110# using Copic Alcohol Ink.
I used the heavy weight card stock because I will watercolor my focal image background.
The stamp is Buds and Vases (GKD)
Flower: RV11, RV23, RV81, RV91, RV95.
Leaves and stem:  YG11, YG61, G20, G34, G28
Background: Watercolor wash added Copic Opaque Ink for interest.
vintgelge-20120704213150
For my designer paper, I started with this gorgeous card stock!
It is so gorgeous that one could use this all by itself!   Wowzer!
Vintage Silver Lustre
Look at those swirls!
I applied Copic Various Ink.
Any alcohol ink can be used! Use it sparingly, It spreads and blends beautifully.
The ink saturates the paper so you will need to protect your work surface.
pt042114cc
I  cut a window in the designer paper.
I then applied my layer to the card stock  and cut a windows in my card base with a smaller nesting
Large Peitiet Oval Die.
This card would be pretty with embellishment but I didn't want to cover up the designer layer! LOL

I am linking this card with the following fabulous challenges:
A Gem of a Challenge - Spring is in the Air
A Creative Need - Signs of Spring
Chocolate, Coffee and Cards - Spring
Crafty Hands - Anything Goes
Craftitude - Anything Goes

Thank you for stopping by.   I hope you stop by tomorrow for  a mini tutorial for MarkerPOP!   
Hugs,
Marie

Sunday, April 20, 2014

To Die For!


Welcome!    
I created a design team card for Totally Gorjuss.  Our challenge is to add a "Die Cut".  
Humm - all kind of ideas cross my mind with this theme :d 
Our wonderful sponsor is Paper Pack!   


Measurements:
Heavenly White Card Base -  4 1/4" X 11", scored at 5 1/2" and folded in half.
Base Layer: Orange Variety Pack (Recollections) - 4" X 5 1/4"
Designer Paper - 3 3/4" X 5"
Focal image - 2 3/4" x 3 1/2"
Focal image mat - 2 5/8" x 3 3/4"
Tag  1/8 inch border mat
Supplies:
Copic alcohol ink markers.
Watercolor
Stamp :  Milton with Poppy (WRS)
Ink Pads- Memento Tuxedo Black
Card Stock-Heavenly White 100# )Paper Temptress)
Designer paper from my stash
Cottage Cuts doily die

Thank you for stopping by and come back soon another project!
Hugs,
Marie


Friday, April 18, 2014

Buds and Vases


Hello everyone!   Today I am sharing my DT card for The Outlawz: Twisted Thursday.
Our challenge is always " Annything Goes".   If you want to participate in the optional twist for an extra chance to win -  add your take on "Happy Birthday" to the theme.
Our wonderful sponsor this month is 


Supplies: 
Stamp: Buds and Vases (GKD)
Focal Image:  Heavenly White 80# (Paper Temptress)
Layer Cardstock: Razzelberry 100# (Paper Temptress)
Card Base: Heavenly White 120# (Paper Temptress)
Tim Coffey Designer Paper f (K & Co)

Don't you just love the paper?   It is my new supply I just got in the mail from
I think I am in LOVE!  

I am linking this card with the following fabulous challenges: 
The Outlawz: Twisted Thursday - Anything Goes (option Twist: Birthday)
4 Crafty Girls - Anything Goes
Paper Crafting Journey - For That special woman

Thank you for stopping by.   I hope your have a wonderful weekend! :D   
See you soon!

Hugs,
Marie


Thursday, April 17, 2014

Light Skin Tones and Light Source Guides


mp041614a copy
Hello everyone! Marie here with another mini video and step tutorial for you!
***
***
To View on YouTube
mp041614mm
I shared a basic color combo for light skin tones on the tutorial, Angels Among Us.    Today, I am adding one more color to the combo to provide a darker cast shadow and darker skin combo.   It is amazing how different the combo will look by adding just one more marker!
CombosE11E00E000E11, E00, E000
This is the combo we used in Angels Among Us.
Light Skin Tone High ContrastE21, E11, E00, E000
I will add a "sandwich" of E11, E21 and E11 for high intensity
And now look what a difference is is when we add just one more color in a "sandwich" technique! The contrast has really increased!    It is a way to add contrast and really expand your Copic Combos in an economical way.
shadows
I  also want to introduce you to a wonderful book that is helpful for understanding "Light Source and Shadows". Consistent light source and accurate shadows are very important when coloring and image. It's fun and easy with a few tools.   This wonderful book comes with acetate guides that can be used over and over.
mp041614b
Supplies:  
Copic Markers Used:  Skin tones: E21,  E11, E00, E000 Hair:  C3, C5, C7, C9 Clothing: BV000, BV00, BV2, G11, G20, G24 Shoes: C3, C5, C7 Luggage: C0, C1, C3 and black multiliner accented with G20 and G24
Background: Watercolor Wash
mp041614aa
This is an example of using the radial light source guide. The sun is shining from your upper left hand side. The area where the line first touches the image will be the highlight. Area where the line leaves the image will be the shadow side. This can be stamped on scratch paper and the light guide can be placed next to your work for reference.
mp041614bb
E000 is my base coat. It is the lightest of my color combo. A smooth light application will allow the other colors to blend  easily.
mp041614ee
The mid-tone, E00 was applied from the outer edge of the shadow and gently flicked inward towards  the highlight. E000 was appled in the same manner.  Flicking lightly from the outer edge of the E00 towards the lightest part of the face.
mp041614ffSuzanne Dean, Color Me Creative Classroom, often talked about a "sandwich". A sandwich is when you place a darker color in the middle of your shadow colors. For high contrast, I used a sandwich for my areas that had cast shadows or areas that were blocked from the light source. I applied E11 to the area. I colored over the same area with the E21. I then applied E11 on top. The E11, E21 and E11 became a sandwich for my cast shadows. The higher the first number  on a Copic Marker, the more gray will be in the color. For example,  E11 is brighter.  E21 ahas more gray.   Grayer tones make great contrast colors or cast shadows. The color really increases contrast in a dramatic way so I used it very sparingly for cast shadows.
mp041614gg
The areas were blended with E00 and E000.
mp041614ii
A touch of E91 was added to the cheeks. This little World Traveler has been spending a lot of time in the sun! If I did this again I would use R20 for my blush to the cheeks. In my opinion, the E91 is too light for the darker skin  tone.
mp041614a copy
This is my finished card!
I hope you will come back soon! :D    Check out my DT card for The Outlawz: Twisted Thursday tomorrow!  I hope your day is wonderful and filled with special time just for you!
badge_marie


Wednesday, April 16, 2014

Ballet Star Dancer


This is a card I created for Color Me Creations Challenge.   
LOL   
Our challenge is "sAnything Goes"
It is definitely my favorite kind of challenge ! LOL 

Our Fabulous Sponsor is 


I used this adorable image  from Aurora Wings called

Skin:  E000, E00, E11 and (E13 for high intensity)
Hair: C3, C5, C7, C9
Swing:  E30, E33, E18 and E28
Dress/Shoes:  C0, C1, C3
Background: BV000 BV00,  C1,  B21, CB and opaque white. 


Marbleized and Smash

I am linking my card with the following wonderful challenges: 
Challenges 4 Everybody - Anything Goes
Craftitude - Anything Goes or Corrugated paper 

Thank you for taking time to stop by and say hi. 

I hope you are having a fantastic weekend! :D 


badge_marie