Thursday, February 26, 2015

Twisted Thursday - Stately Flowers 9

Welcome to Inky Creations!   
   
The sun is shining but there is a bite in the air.    
Today I was thinking of how happy I will be when the sun is out and the flowers bloom 
and shorts are  clothing for the day!   LOL      
So I decided to create a card that reminds me of those warm and sunny days!
I am a Guest Designer for the fun Anything Goes Challenge 
at

That's right...   Anything Goes!   
Come join us!     


 Stately Flowers 9 (GKD)
iIlustrated by Melanie Muenchinger   


Copic Marker
Flowers: RV10, RV13, RV17, 
Leaves:  G17, B21, Y23, RV10
Sponged with Vintage Photo.    

The edges of the paper was sponged to give a vintage look.   
The tag pulls out for a personalized sentiment. 


Hope you join us at The Outlawz: Twisted Thursdays for our challenge!  
The Designers are amazing and there is always fun 
and wonderful ideas that are sure to inspire you!    


Monday, February 23, 2015

Sketched Canadian Jay


Hello and Welcome!
It's Monday and a beautiful day here!
I always feel inspired by nature and living in the country gives me an
opportunity to have a lot of nature-loving moments!
I am taking an on-line class drawing birds and thought I would share with you
my first sketch alf a bird.   I selected a Canadian Jay.
I experimented with some of my paper and found the
gorgeous 120# Heavenly White worked great
for the sketching and the watercolor wash I wanted to add to the background.
pt022315b
Supplies
Image
Hand Sketched (Marie Gamber)
Ink
Copic Alcohol Ink
Watercolor
Copic Opaque White
Copics Blue Multiliner
pt022315c
The image was sketched using a light pencil.
A light grey Copic Multiliner 0.03 was used to outline the image and
mark some of the detail
The pencil was erased and the image was colored with Copic markers.
The background is a watercolor wash with white opaque ink and a blue multiline.
pt022315aa
That's all for today.


I hope you have a great day and come back soon! 


Thursday, February 19, 2015

Whimsical Background Using Prismacolor Pencils


Hello and welcome!    

I have a request from Kathy Stacy to show how I created 
this whimsical background.     
I love special requests so ....   this one if for you, Kathy!  


My other YouTube Tutorials can be found HERE


I love heavily distressing the edges, sponging and then embossing. 
It give the effect of hand made paper!    


Have a beautiful day and THANK YOU 
for stopping by! 
Come back soon. 


Tuesday, February 10, 2015

Distress Inking With Copics - Part 2 Clothing

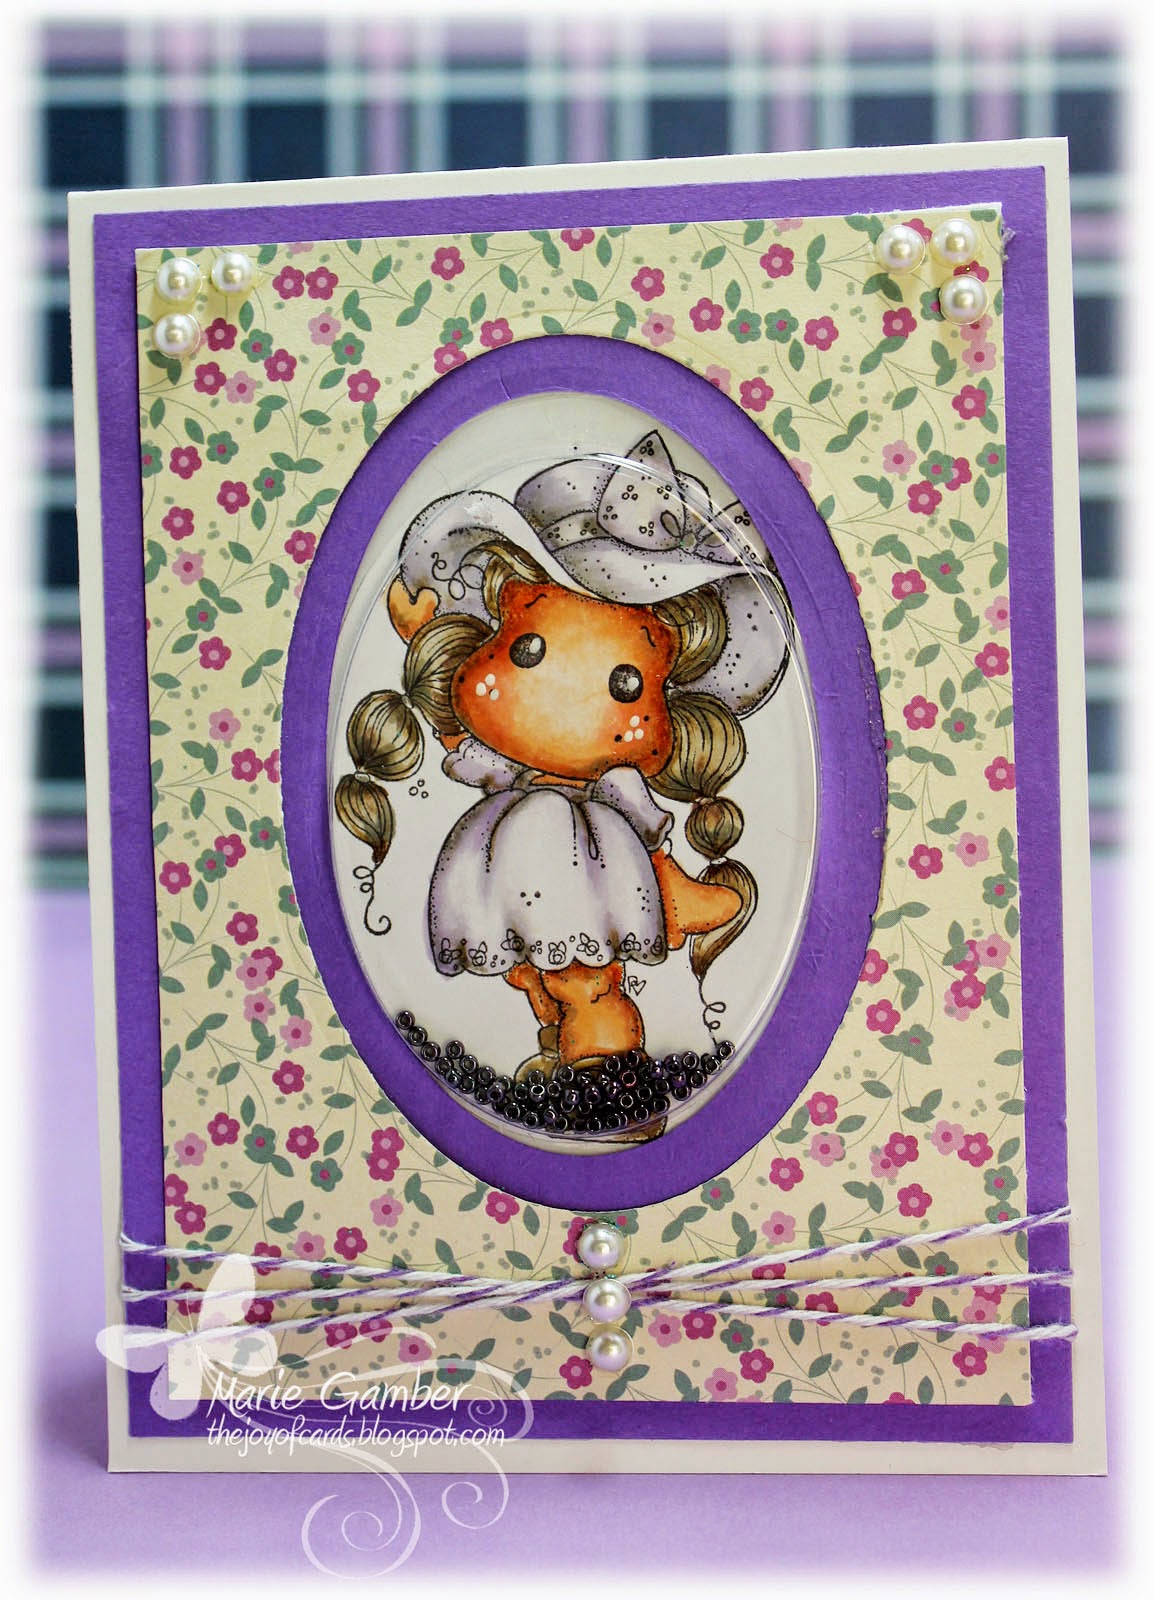
Shaker Card

Hello everyone!   Marie here with another tutorial for you!  

This is part 2 of the Scandinavian - Inspired Distress Inking with Copic Markers - Clothing
this is a technique I learned from the fabulous Suzanne Dean.     I hope you enjoy it.


***

My other YouTube Tutorials can be found HERE


Other
Shake It Clear Adhesive Pouches (IO)
Pearls
Micro Beads

Shaker Card

Thank you for stopping by.    I hope you return real soon!   
Have a wonderful week!   


Monday, February 9, 2015

Hugs and Kisses and Valentime Wishes- My Besties YouTube DT Hop!


 I

It's TIME
 for our My Besties YouTube DT Hop!    
Out theme is Hugs and Kisses and Valentine Wishes.  


We have a super fabulous prize that will be given to some special person that hops to all the video's and leaves a comment.   I hope the winner is YOU!   

I created a tutorial for a Pop-Up card.   I hope you enjoy! 

Here is my video and if you enjoy this, I hope you will "like, share and subscribe" to my YouTube channel.  I love visitors!   

***

My other YouTube tutorials  and project shares can be found HERE   


Your next stop will be the fabulous 
Janie (Rinta) LaCasella

WELCOME TO THE HUGS, KISSES and VALENTINE WISHES HOP!!
1. "HOP" to each of the members listed below

2. Must subscribe to each channel and leave a comment :)

3. Watch for giveaways on their channels too!

4. When you've finished, title an email "Valentine" and send to signace@yahoo.com to be entered for:

 Our GRAND PRIZE!!! 
 1. A 3d download
 2. 1 Bottlecap sheet
 3. 1 digi of your choice!

   AND...   A goodie box full of crafty deliciousness including stamps, dies, trims and more!! 
STORELINKS:
My-Bestieshttp://www.my-besties.com  thisis the same as www.inspirationalbath.com
ScrapbookStamp Societywww.scrapbookstampsociety.com
OUR HOP LINEUP!!
#1 Jen Evers  (Our coordinator)
#2 Melissa Cooper
#3 Marie Gamber  (This is me ...   Your Next stop will be Janie)
#4 Janie (Rinta) LaCasella
#5 Stephanie Rafos
#6 Tina Kucinic 
#7 Leslie Owens
#8 Bonnie Kohane
#9  Bernadette Mares


Thank you for stopping by and good luck!!! 


Paper Temptress - Butterfly Kisses -

pt020915a

Happy Monday!
I want to share a little experiment of mine.
I wanted to make  dimensional wings on my butterfly and  to create
wings that had a fuzzy look that I see on some butterflies.
 
pt020915b

I stampted the image with Memento Tuxedo Black ink and colored the image with
Copic alcohol ink markers.
I applied liquid Laquer of a dimensional look and then sprinkled Warm Diamond Silk Microfine Glitter from Elizabeth Craft Designs.   It is a super fine glitter and does not apply the coarse glittery appearance of most glitter.
I love to experiment...
I think I would like to create icicles with this method.
I think I will definitely try that!  LOL
I stencilled butterflies on my white designer layer and then shaded the butterflies with Copic Markers.

pt020915c

Supplies:
StampButterfly stamp
Ink
Copic Alcohol ink Markers
Other
Twine
Adhesive
Clear Laquer
Warm Diamond Microfine Glitter
Butterfly Stencil


I hope you have a wonderful week and I will see you again two weeks from today.

Marie.Pink

Thursday, February 5, 2015

Scandinavian Inspired Distress Inking with Copics - Part 1 Skin Tones

Screen Shot 2015-02-04 at 1.22.53 PM


Hello everyone!
I am going to share with you today,  a technique I learned from Suzanne Dean.
Suzanne is a fabulous Copic Instructor and I refer to her has my Copic Guru. She is one of the first artists I know of that created a technique for Scandinavian-Style Distress Coloring Using Copic Markers.

I will be sharing how I use this  Scandinavian-Inspired  Distress Inking technique with my Copic Markers.  This video will deal with  Skin Tones. I will share how I used this technique for clothing on my video next week.


My other YouTube Tutorials can be found HERE

To err is human!I created a super shaker card for you!   :)    I have lost it!   I looked all over and it is no where to be found!  Panic?   NO!    The good news is...   I have to re-color it again for next weeks video when I demonstrate this technique for clothing!

Supplies
Stamp
Tilda with Rose Lace Dress (Magnolia)
Any of the wonderful Magnolia images will work well for this technique!!!
There are three main things I will cover of this tutorial.
Scandinavian-Inspired Distress Inking with Copic Markers will
        1.   Have dark coloration around the edges

        2.  There will be a warm gray tone that pools around the corners
        3.  There will be a lot of light -especially in the center.

                        a.  Most images have 2/3 mention coloration.
                        b.  This technique will have 2/3 light coloration.

Screen Shot 2015-02-04 at 1.19.44 PM


I applied E13 in the shadow area.   The darkest shadow area was applied around the perimeter of the face , hairline and round the top of the shoulder.

Screen Shot 2015-02-04 at 1.20.40 PM


The midtown was applied sparingly from the inner edge of the E13 with a light flicking motion.   This should be used sparingly.   Usually, the mid-tone  constitutes 2/3 of the image.   With this particular distressing technique, 2/3 of the image remains .


The midtown was applied sparingly from the inner edge of the E13 with a light flicking motion.   This should be used sparingly.   Usually, the mid-tone  consitutres 2/3 of the image.   With this technique, 2/3 of the image will remain "light" in color.
Screen Shot 2015-02-04 at 1.20.58 PM


E00 was applied as my highlight.   Notice that with this technique, I am not coloring all of the highlight at once!

Even though a color is light in color, the ink will lay down another layer of partials and the color will darken :D

Screen Shot 2015-02-04 at 1.22.02 PM


I now go back and apply W3  in the corner areas to allow a warm gray color to pool.

I then top it with E13 and blend out with E11, E00.   I clean off the nib of my E00 and then lightly flick across the center once with a light touch.

Screen Shot 2015-02-04 at 1.22.31 PM


I lightly flicked from the center out with my Colorless Blender.  It is important to use a very light touch and use this step very sparingly to avoid the color from becoming blotchy.   You can choose to omit this step if you prefer.
Screen Shot 2015-02-04 at 1.22.53 PM


I hope this tutorial was helpful and that I clearly covered the 3 important  points that help create this Scandinavian-Inspired Distress Inking Technique with Copics!
  1. Have dark coloration around the edges
  2. There will be a warm gray tone that pools around the corners
  3. There will be a lot of light -especially in the center.
    • Most images have 2/3 mid-tone  coloration.
    • This technique will have 2/3 light coloration.
Thank you so much for stopping by!   I will be back next week with how I use this same technique to color the clothing!